Professional articles | Blog | ARCHLine.XP
Getting started in ARCHLine.XP LIVE for architects
ARCHLine.XP LIVE is an easy to use stand-alone Archviz application that can bring your 3D models to life.
The aim of the architectural visualization is to present the 3D model completed with its surroundings without any complicated tools.

ARCHLine.XP LIVE has a direct connection to ARCHLine.XP, moreover OBJ files can also be imported without any data loss.
ARCHLine.XP LIVE enables the real time visualisation of the architectural and interior design spaces, by adding high quality materials, the sun position, light sources, vegetation, water and other environmental features.
What are the benefits?
ARCHLine.XP LIVE gives an accurate and stunning image of the project within minutes.
You can save hours spent on rendering as there is no rendering time.
It means you can react to your clients' modification requests immediately, regardless of the size and complexity of your project.
Adding people, cars, trees, and flowers to the architectural model will bring breath-taking new experience to clients in a few moments.
Guide to Learn ARCHLine.XP LIVE
There are 6 main steps to create images and animation:
1) Import 3D Model
ARCHLine.XP LIVE gets the completed 3D model from ARCHLine.XP CAD/BIM model software. It is a one-way connection, there is no backlash.
2) Materials
ARCHLine.XP LIVE built-in library contains high quality materials as real-life water, glass, metal, wood, flooring, vegetation, etc.
You can replace the original imported materials on the 3D model to LIVE materials.
3) 3D objects
Place built-in 3D objects to refine the scene. Add people, cars and trees, plants, effects like fire or smoke.
4) Lighting
ARCHLine.XP has a wide range of built-in lighting design features. If you like to represent the interior design spaces make sure that the model has sufficient number of light sources before importing to ARCHLine.XP LIVE.
5) Sun position, Shadow simulation
Date and time slider to display the variable shadow during a day or a particular hour during the year.
With these settings find the best illumination.
6.a) Save images
Saved views in ARCHLine.XP can be also found in ARCHLine.XP LIVE and selected with one single click.
Start the navigation in your model.
To show the completed model entirely it worth creating and saving new perspective views.
6.b) Save animation
The animation paths saved in ARCHLine.XP can be also viewed in ARCHLine.XP LIVE, so we can save video files from them.
Workflow in ARCHLine.XP LIVE
1. Import project to ARCHLine.XP LIVE
Activate the 3D window and click on View – Rendering – ARCHLine.XP LIVE.
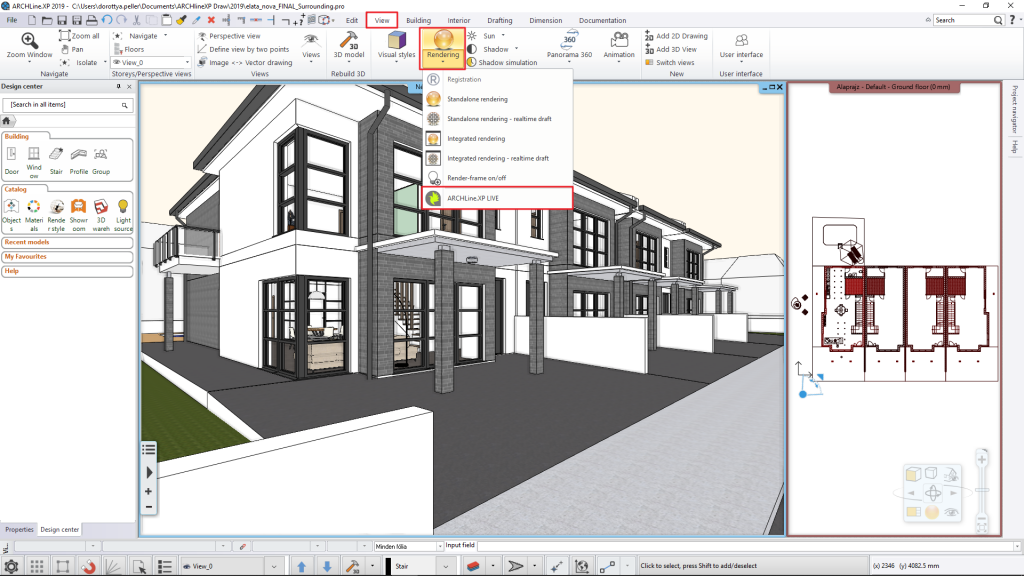
The export starts automatically and includes the 3D model with following content: colours/textures, rendering styles, light sources, North direction, sun position, saved perspective views and animation path.
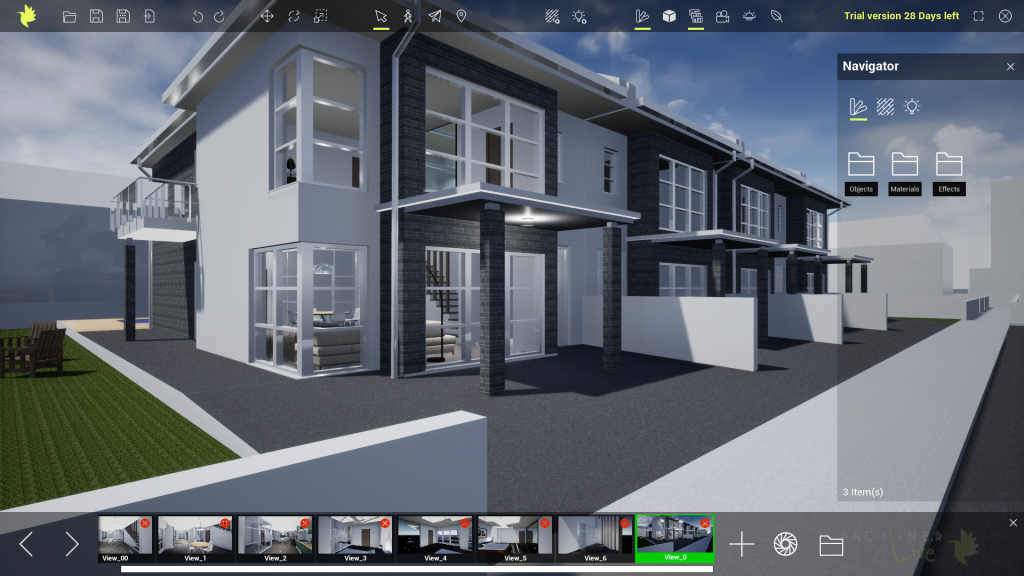
ARCHLine.XP LIVE starts and displays the model.
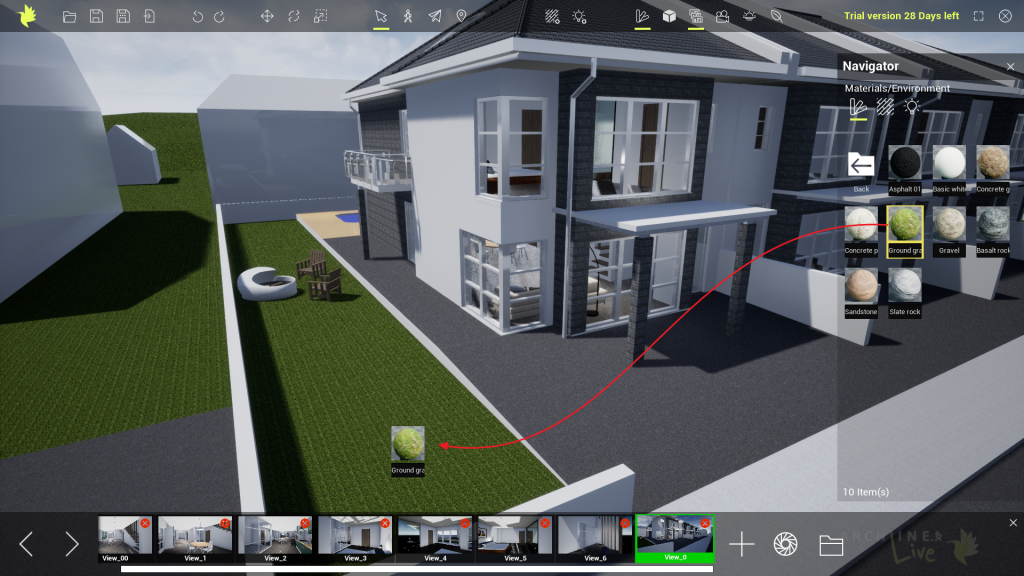
2. Working with LIVE materials
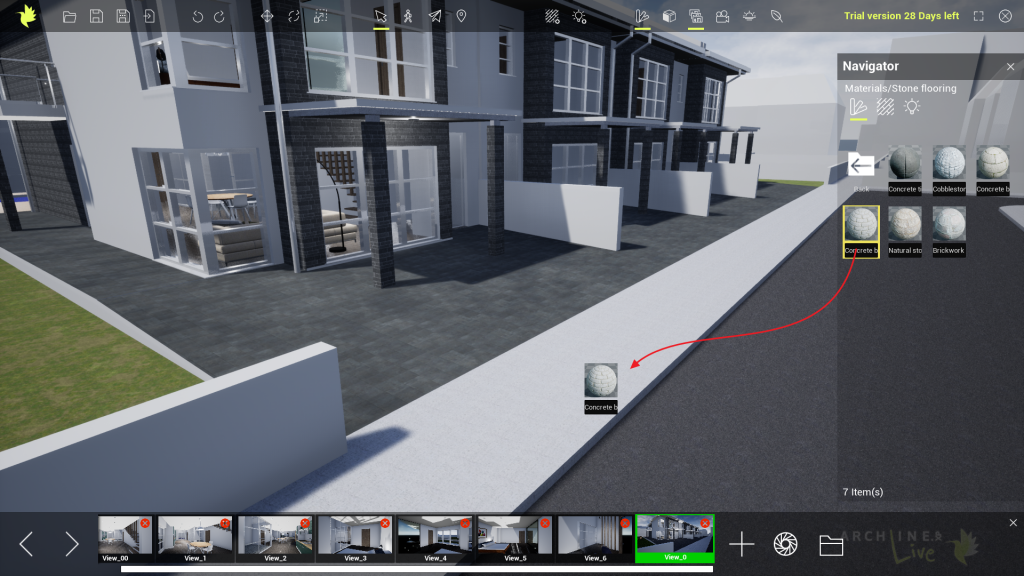
Apply the LIVE materials to improve the image quality. Use drag and drop to change some materials, like glass, grass, pavement, chrome, parquet, metals.
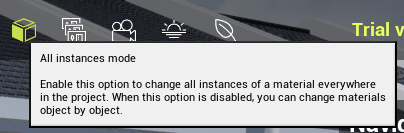
All instances mode:
Before following next steps, please switch off the All instances mode. When this option is off, then the matching materials can be changed individually.
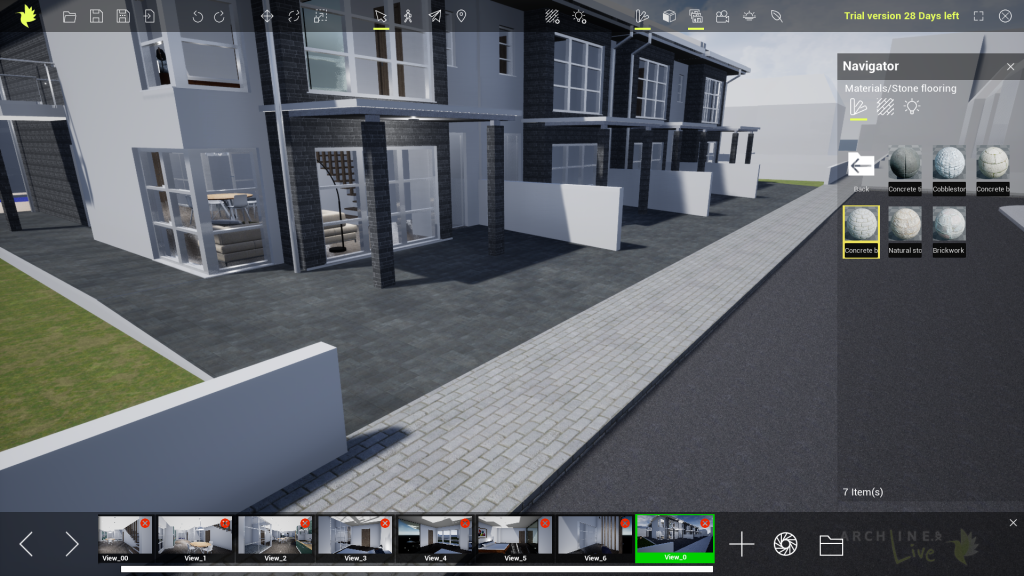
Change the tiling around the house
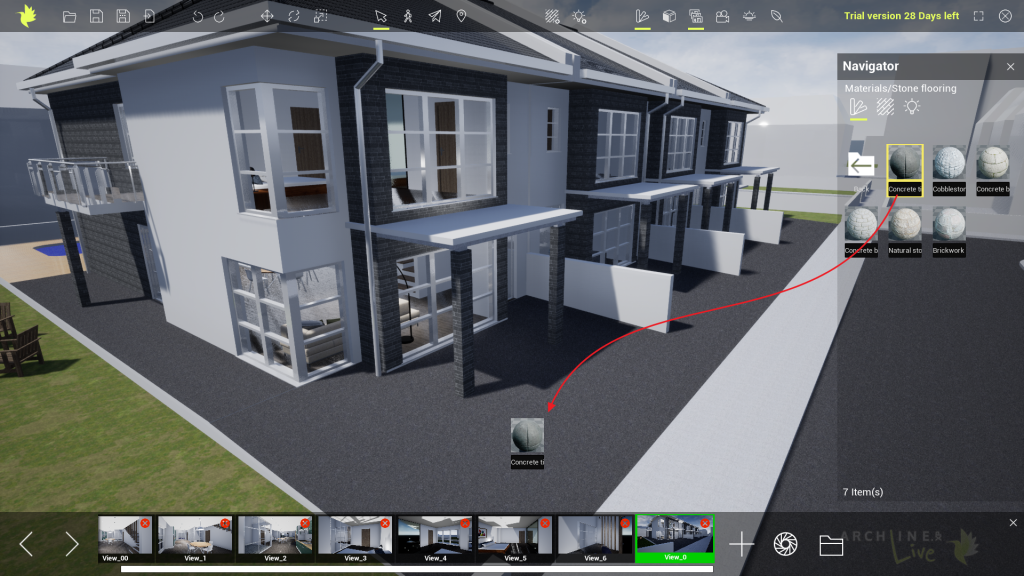
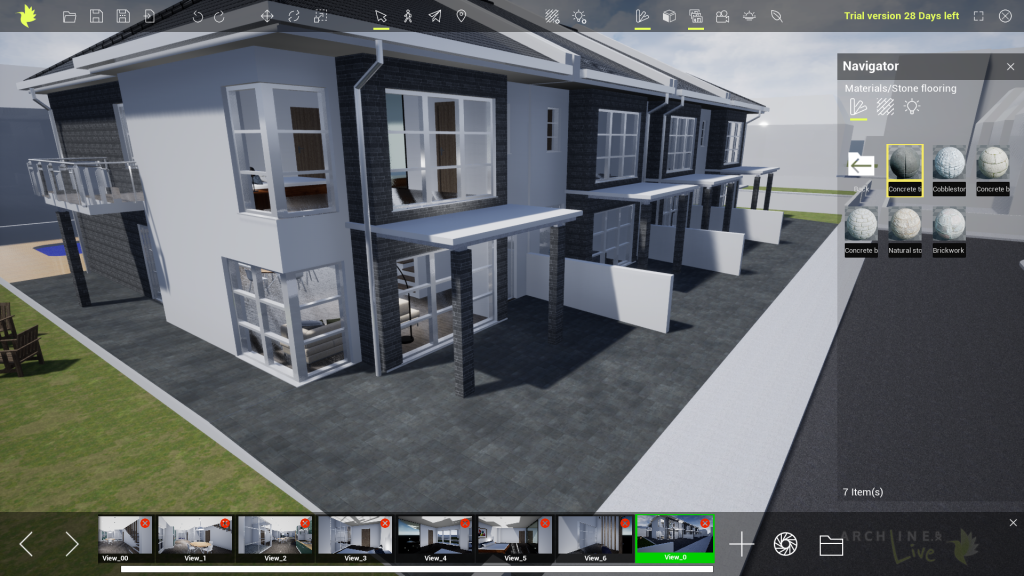
Change the pavement.
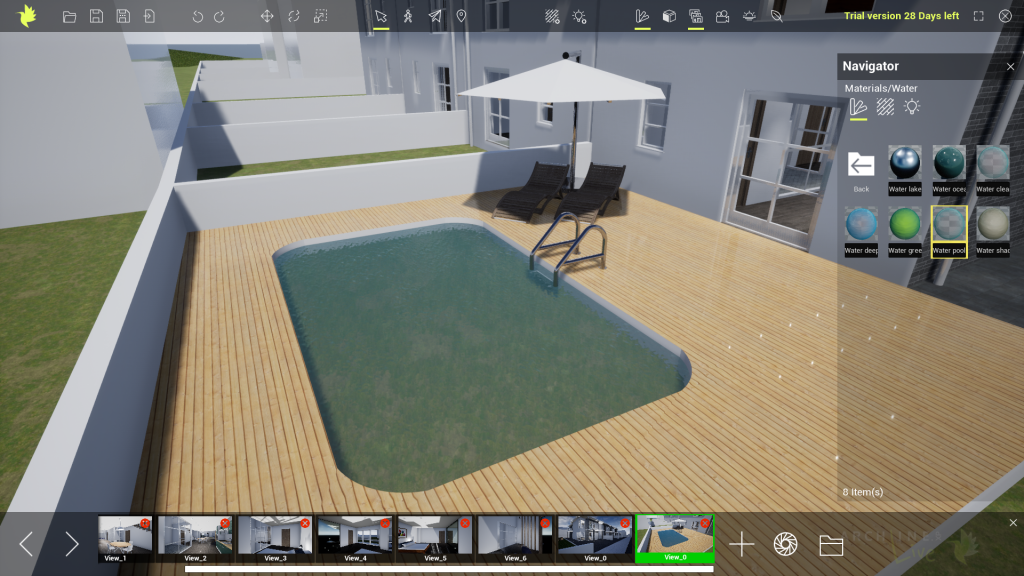
Change water in the pool. Navigate to the other side of the building as we do in ARCHLine.XP and apply another type of water effect. If you want to save the new perspective view, do it with the + button.
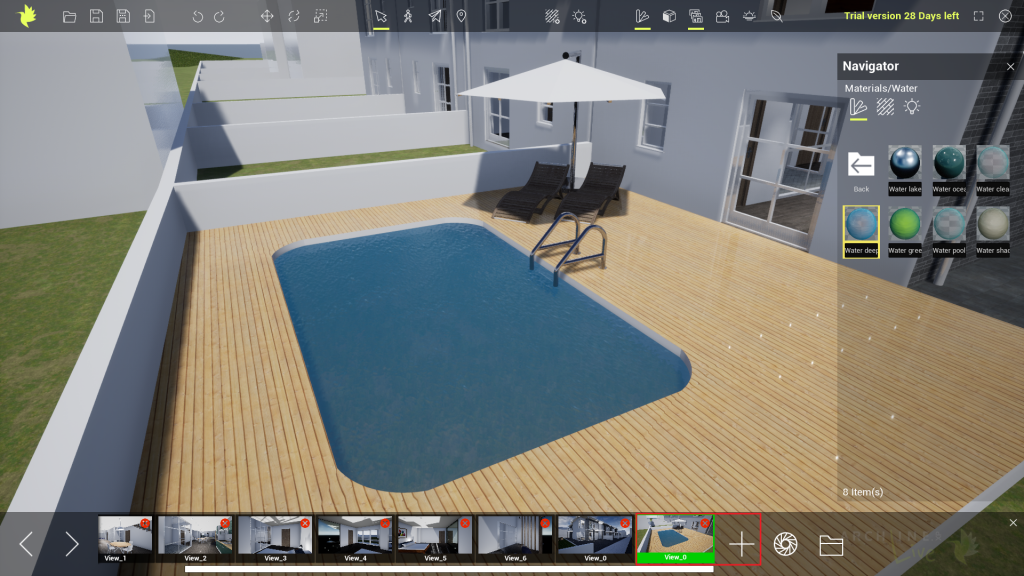
Use drag and drop to change the water effect on the pool. Look how it is undulating.

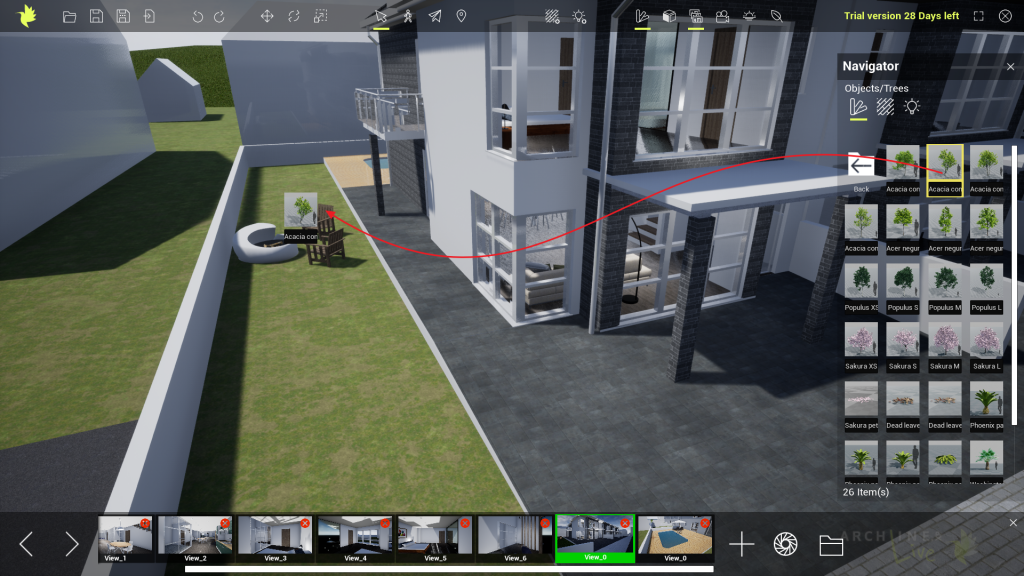
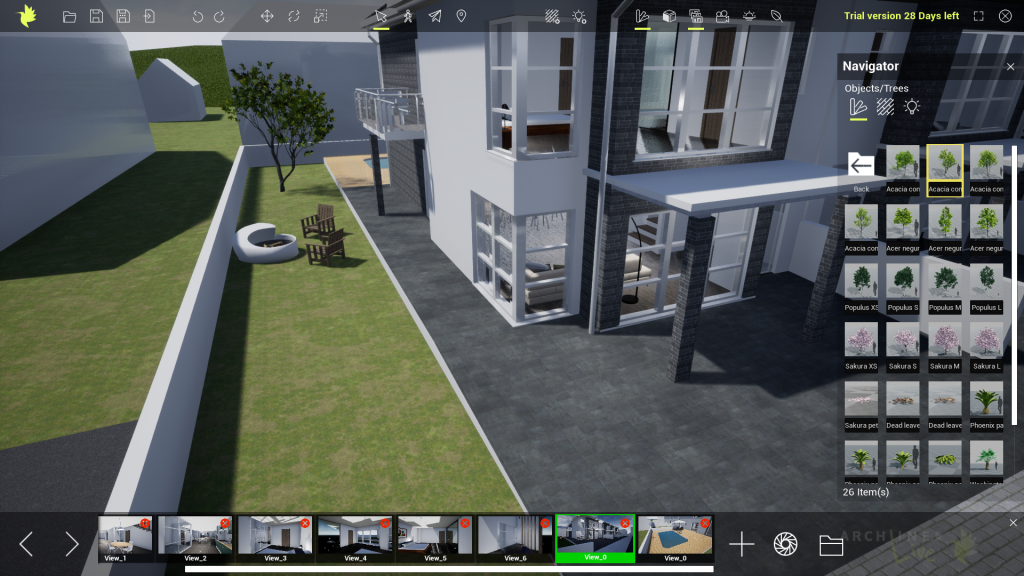
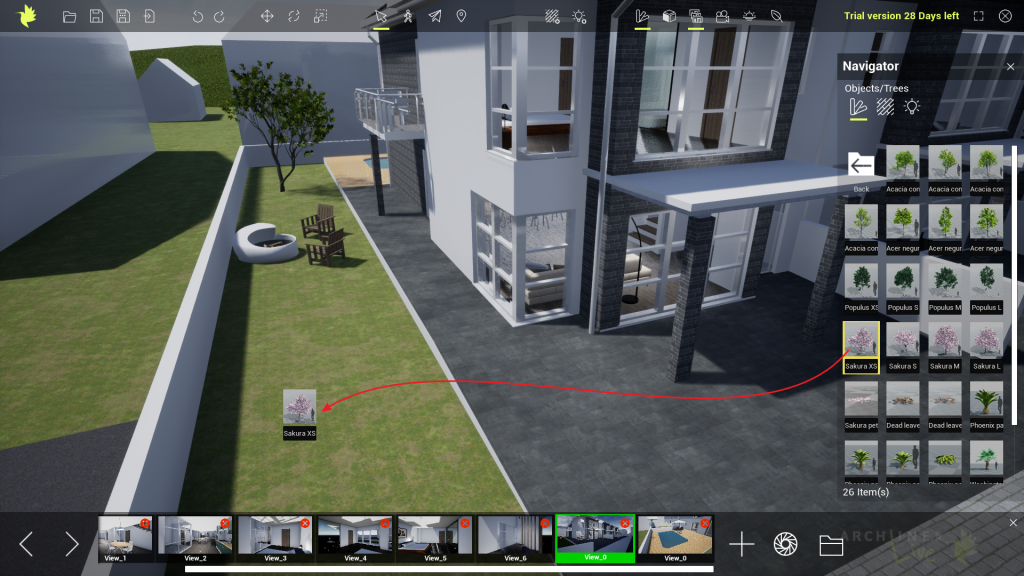
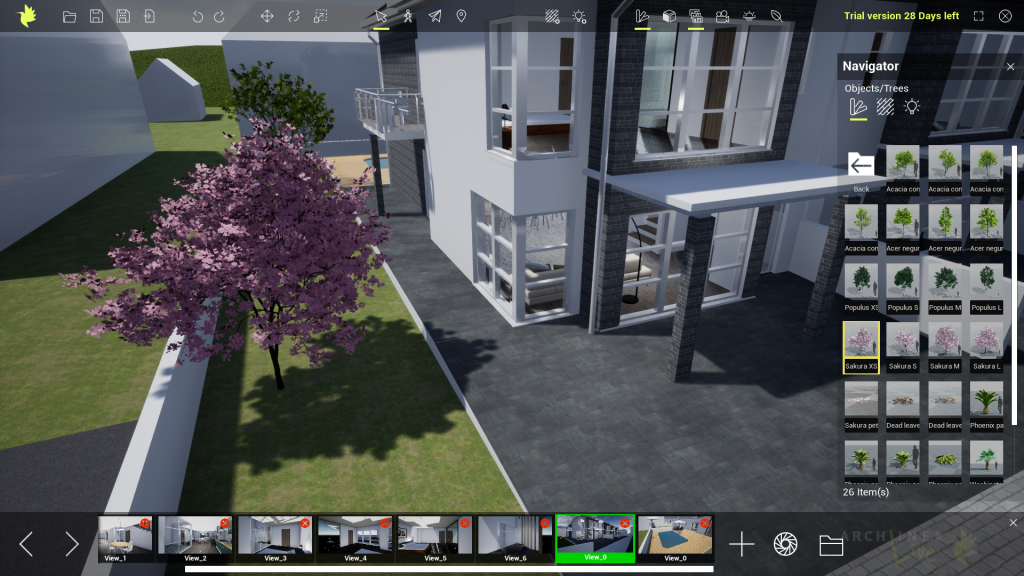
3. Working with LIVE objects
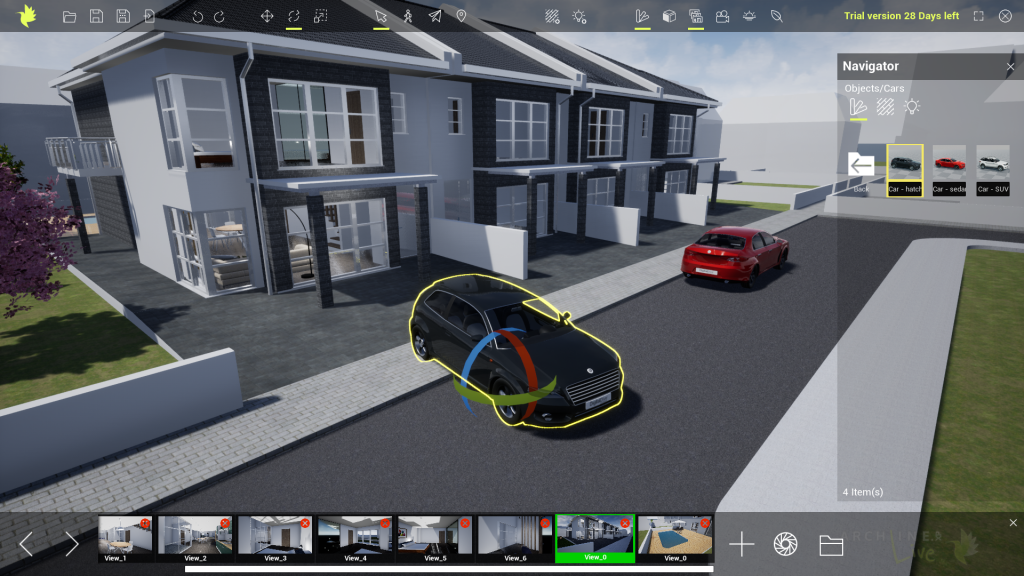
In the next step add LIVE objects. Use drag and drop to add people, cars, trees etc. Check now how trees are bending in the wind.
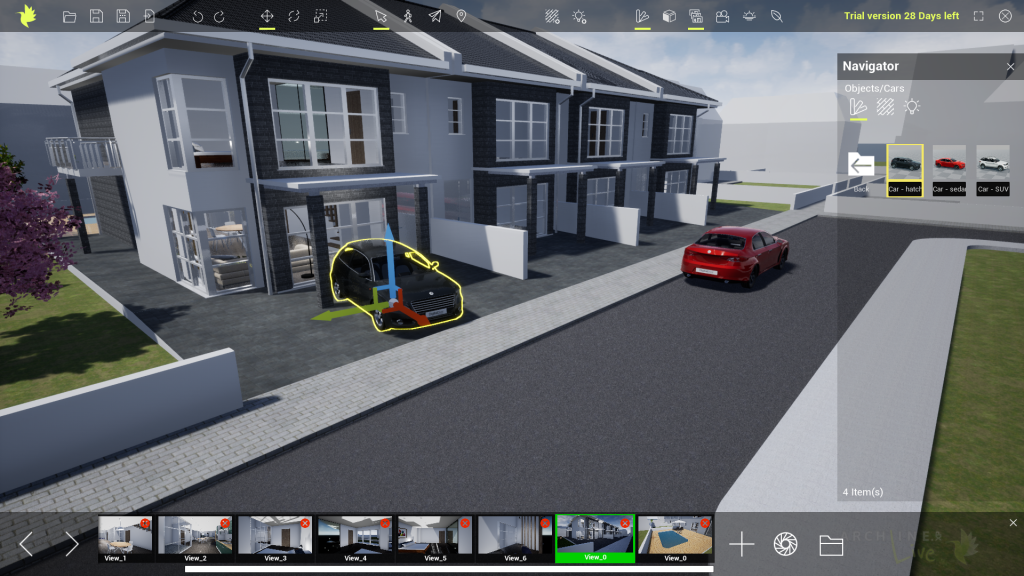
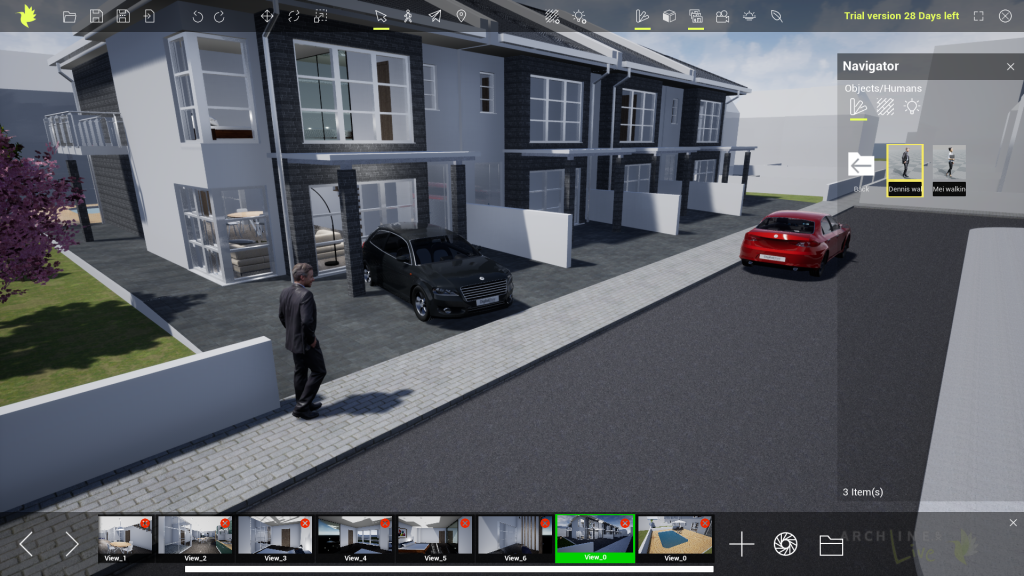
Add people and cars. The move and rotate commands make the exact positioning easy.
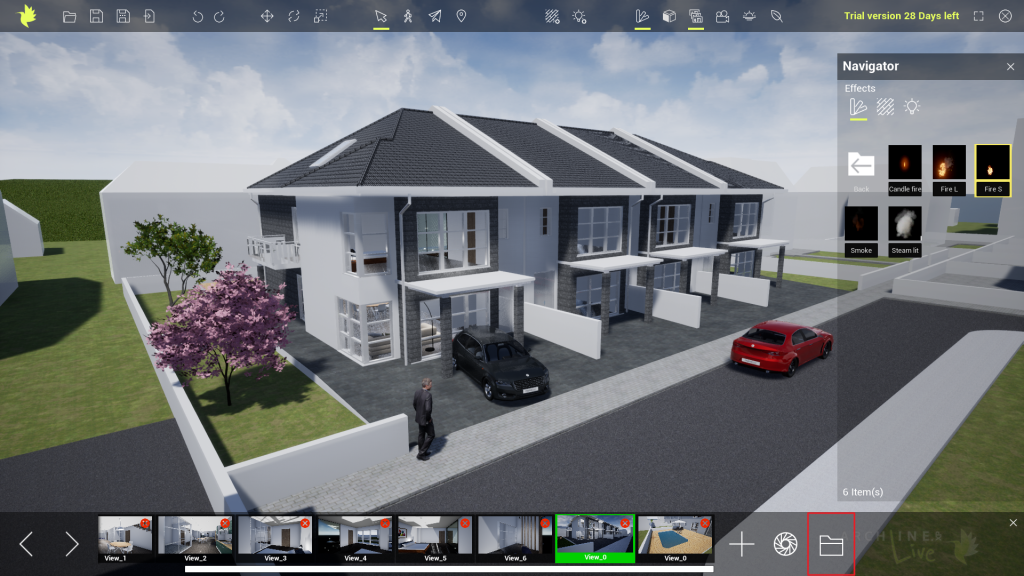
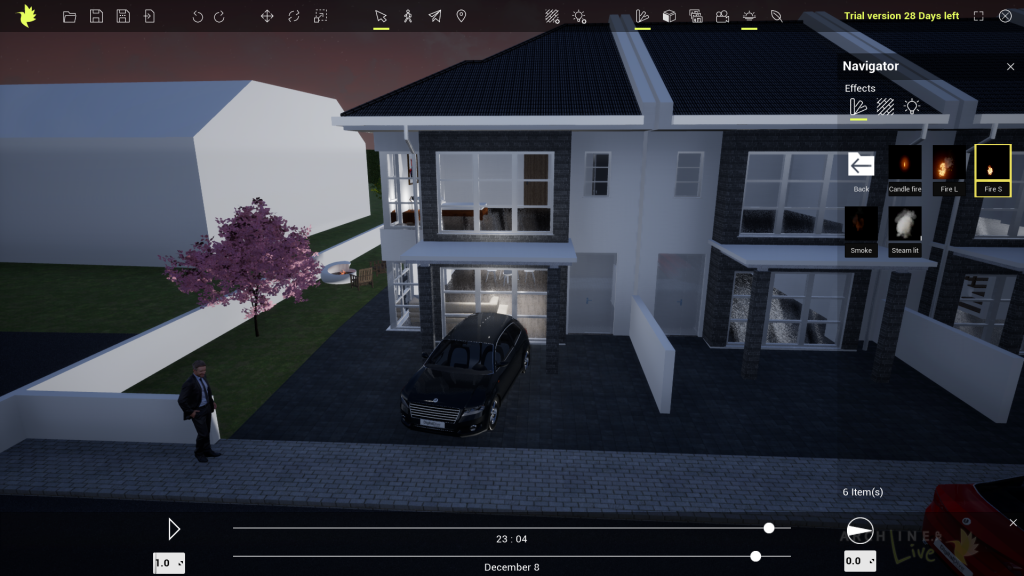
Move the time slider to evening and add effects like fire and smoke:
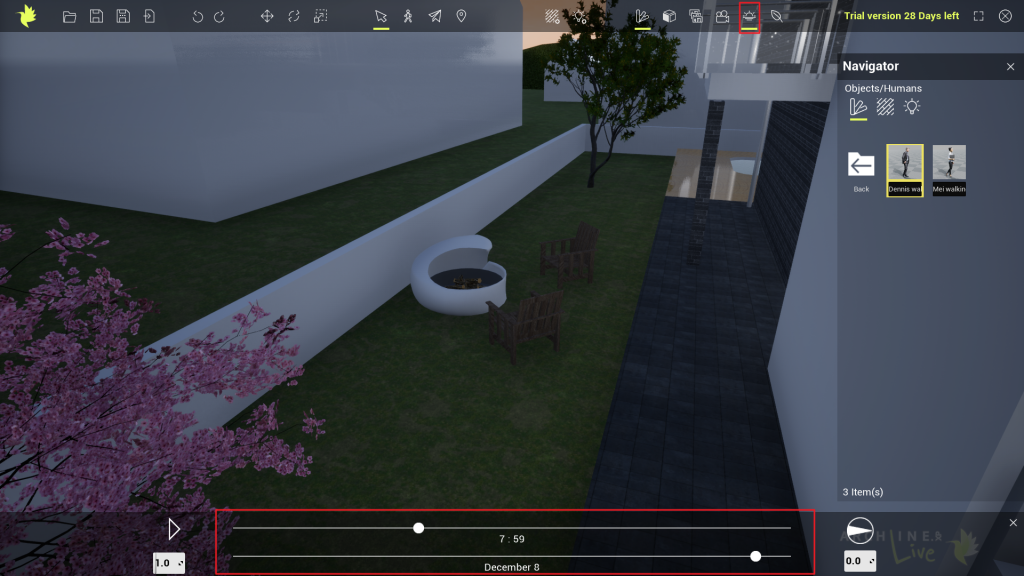

4. Sun setting, shadow simulation
Find the best view of your model before saving the images.
We can play the shadow simulation on the given date if we click on the play button next to the slider.
Evening time:
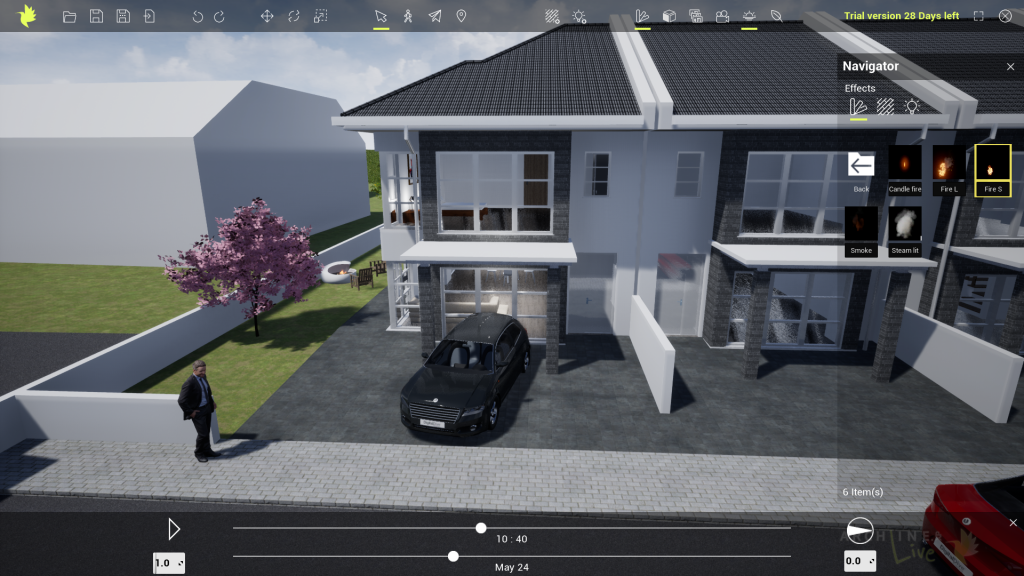
Morning time:
5. Saving images
To display the model in its surrounding environment it is recommended to set and save new perspective views.
In case you want to refresh the current views, click on the lens icon next to the + button.
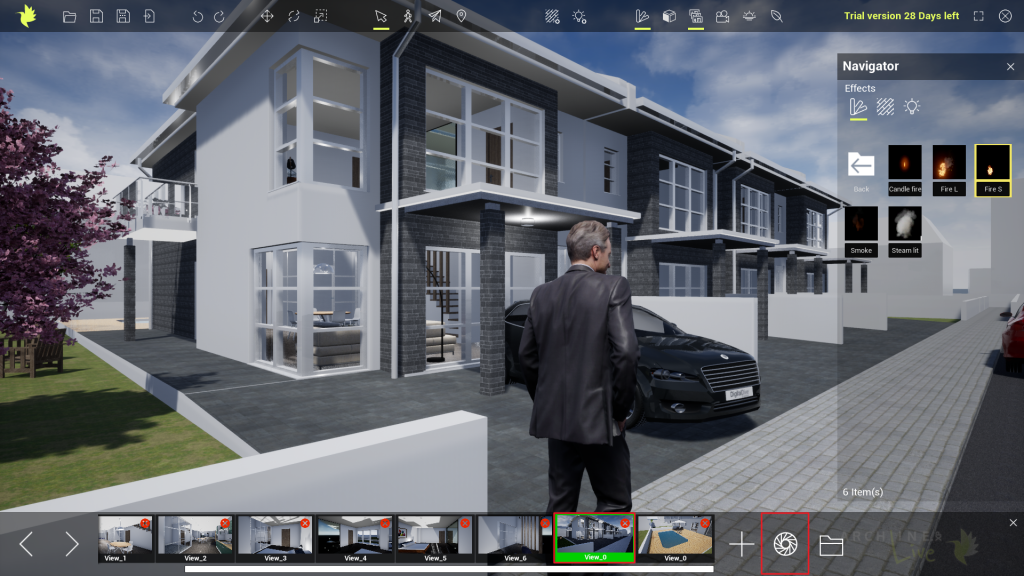
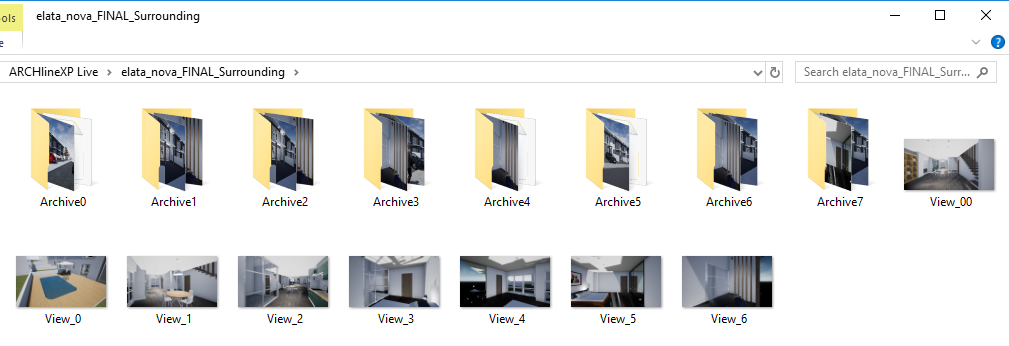
Click on the folder icon to view and browse all images: