Case studies
Family Houses - from Floorplans to Visualization
The article was written by Laszlo Farsang, architect, ARCHLine.XP user. The article was also featured in the Architectural Digest of Hungary
Before getting to know ARCHLine.XP, I had been using a different architectural design software. I eventually received an invitation to a showcasing of ARCHLine.XP, and since the price of the program fit my budget just fine, I went to the event in Zalaegerszeg to see what the program does. Based on what I saw, I compared the program's abilities with the software I had been using, and I decided to order the software on the spot. After a brief learning period, I transferred to the new program quite easily. I have been using it ever since.
The architectural work is aided by the fact that I can use not only layers, but also floors. I create a separate floor for the slabs, roofs, plinths, foundations, etc. The program allows to set the height of the structural levels to 0 m, so this method of working does not interfere with determining the actual elevation and height values. I can navigate swiftly between the floors, and I can put the elements of the floors above each other. For the slab above the ground floor, for instance, I make the ground floor floorplan visible, because then I can just redraw the shape with the wall style I preset (which is a 2 layered wall I made, consisting insulation and concrete. Its height is actually the height value of the ring beam). For those, who have already built a house, this part of the job is actually construction in 3D. The plan can always be checked, when when the work is not yet finished, with a single command. For this, the software uses OpenGL or DirectX technology.
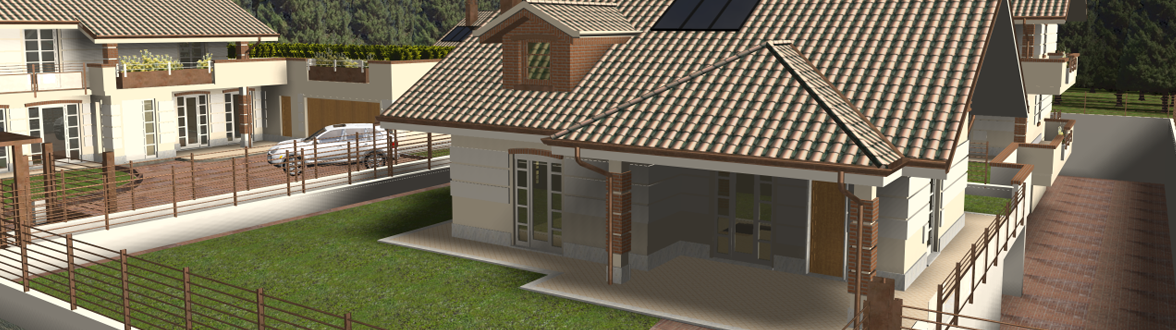
I do the terrain modeling before I start planning the building, or after I have drawn the house. The sofware draws the terrain after I have given a few height and level values. Then, at the site at the building, in the pavement level I do the terrain cutaway. If the building has a basement level, I extract the basement block too, so that on the section view the basement level would be visible as well. If the 3D model of the building is ready, including the terrain, roof, drains, chimneys, and pavement around the building; I do some environment modeling with a few trees, some foliage, I place some vines on the wall, maybe a small pond in the garden. For this I use the built-in models which come with the software, but I can also draw my own elements if I want. The 3D elements can be drawn as a freehand drawing, and I can save them as my own, after I have assigned some textures to them.
After that, I am off to meet my client for the first consultation. I go to the meeting prepared with an animation on the building, and that's the first thing I show during the demonstration of the plans.Ever since I started showing my clients their houses like this, they fall in love with the plans immediately, and there is not nearly as much need for further adjustment compared to what was happening when I had still been doing this by hand, having no access to producing photo realistic images or animations. After the first consultation I do the required modifications, I do a preview, I make the elevations, a couple of sections and place the measurements. Now I do a trial print of the plot layout, then a final round, and I am done.
When I was in college, it wasn't yet possible in Hungary to purchase a personal calculator, so we did all calculations with a slide rule. This is very hard to imagine nowadays. Situations changed in architecture, too. Ever since I started doing my plans on a computer, everything sped up, and now that I got a taste of how to do computer aided design, there's not going back to hand sketching.