Professional articles | Blog | ARCHLine.XP
Making high quality rendered images using the ARCHLine.XP rendering engine
In order to create realistic rendered images of our design, it's worth looking at a few basic settings ARCHLine.XP offers. Let's see what makes a great visual!
Before creating a final render, we should always make a few test renders in a lower resolution. Based on these initial results, we'd know how to adjust the settings for better final results. This saves a tremendous amount of time.
-
Setting up the perspective views
Before we start the rendering procedure, it's very important to know what we want to see on the finalized image. Set up a perspective view in a way that it feels natural, and not distorted or forced. This typically means a camera height and target height of 1.4m (marked as Target Z and Camera Z respectively), with the perspective angle at a maximum of 70°. We should always save the perspective views, so that we can come back to them with a single click.
 Perspective with 60° angle
 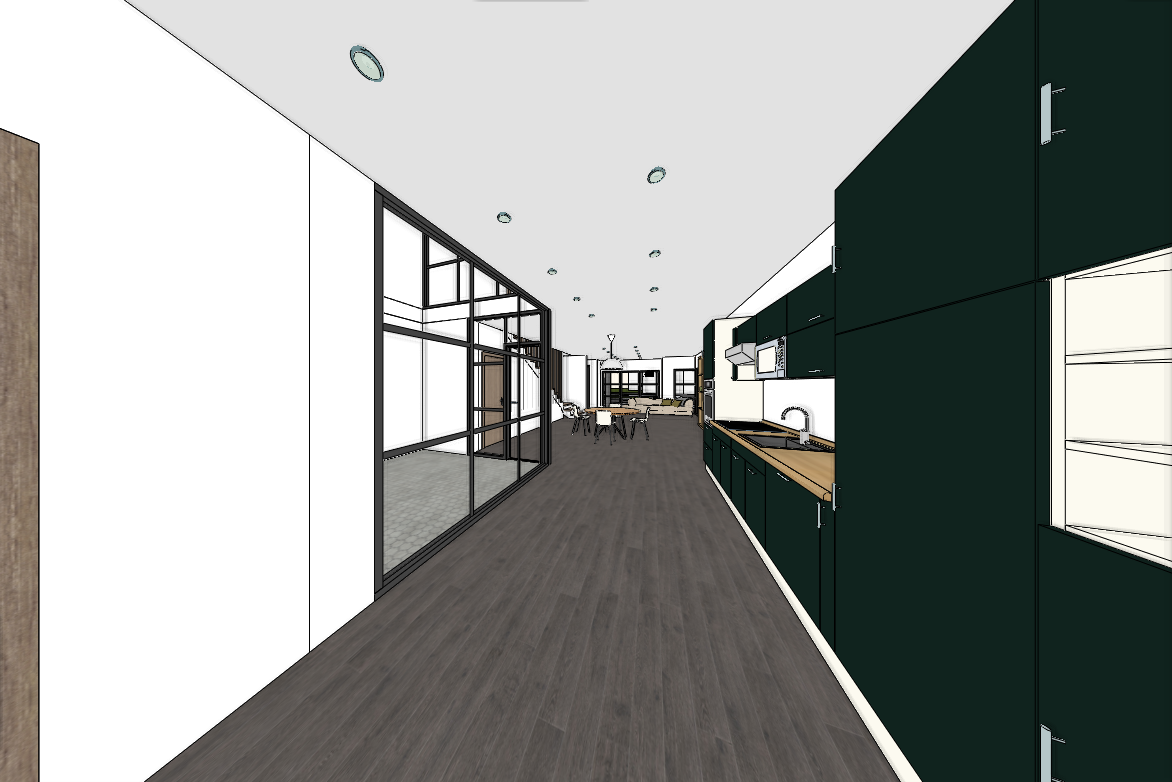 Perspective with 120° angle
-
Material settings
One of the finishing touches of our design, just before we start rendering, is the appropriate setting up of the materials. The rendered image we are making can only look realistic, if the materials we place have the same attributes as they do in real life. This means that wooden surfaces, for instance, should reflect light off their nerves and grooves. Glass surfaces on the other hand should refract light as they are smooth and transparent.
Setting up materials is not always simple and it's usually quite time consuming. In order to make this procedure faster, we have introduced Render Styles into ARCHLine.XP.
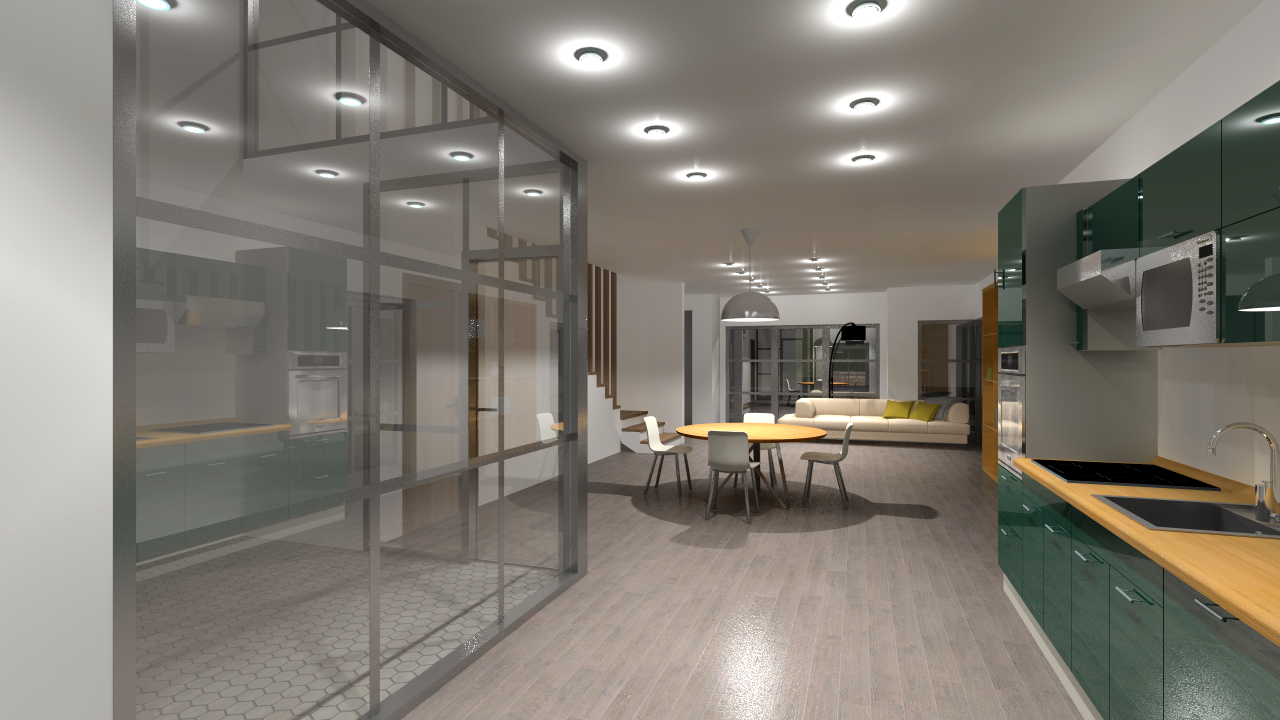
This function means that the different types of materials, such as metal, glass, mirror, brick, etc. have been collected into groups, with their typical material properties preset. As a result, we have now 20 different Render Styles. You can assign these styles to any material you currently have in your model - they will leave the materials' physical properties (size, texture, etc.) untouched, instead, they will overwrite the material properties.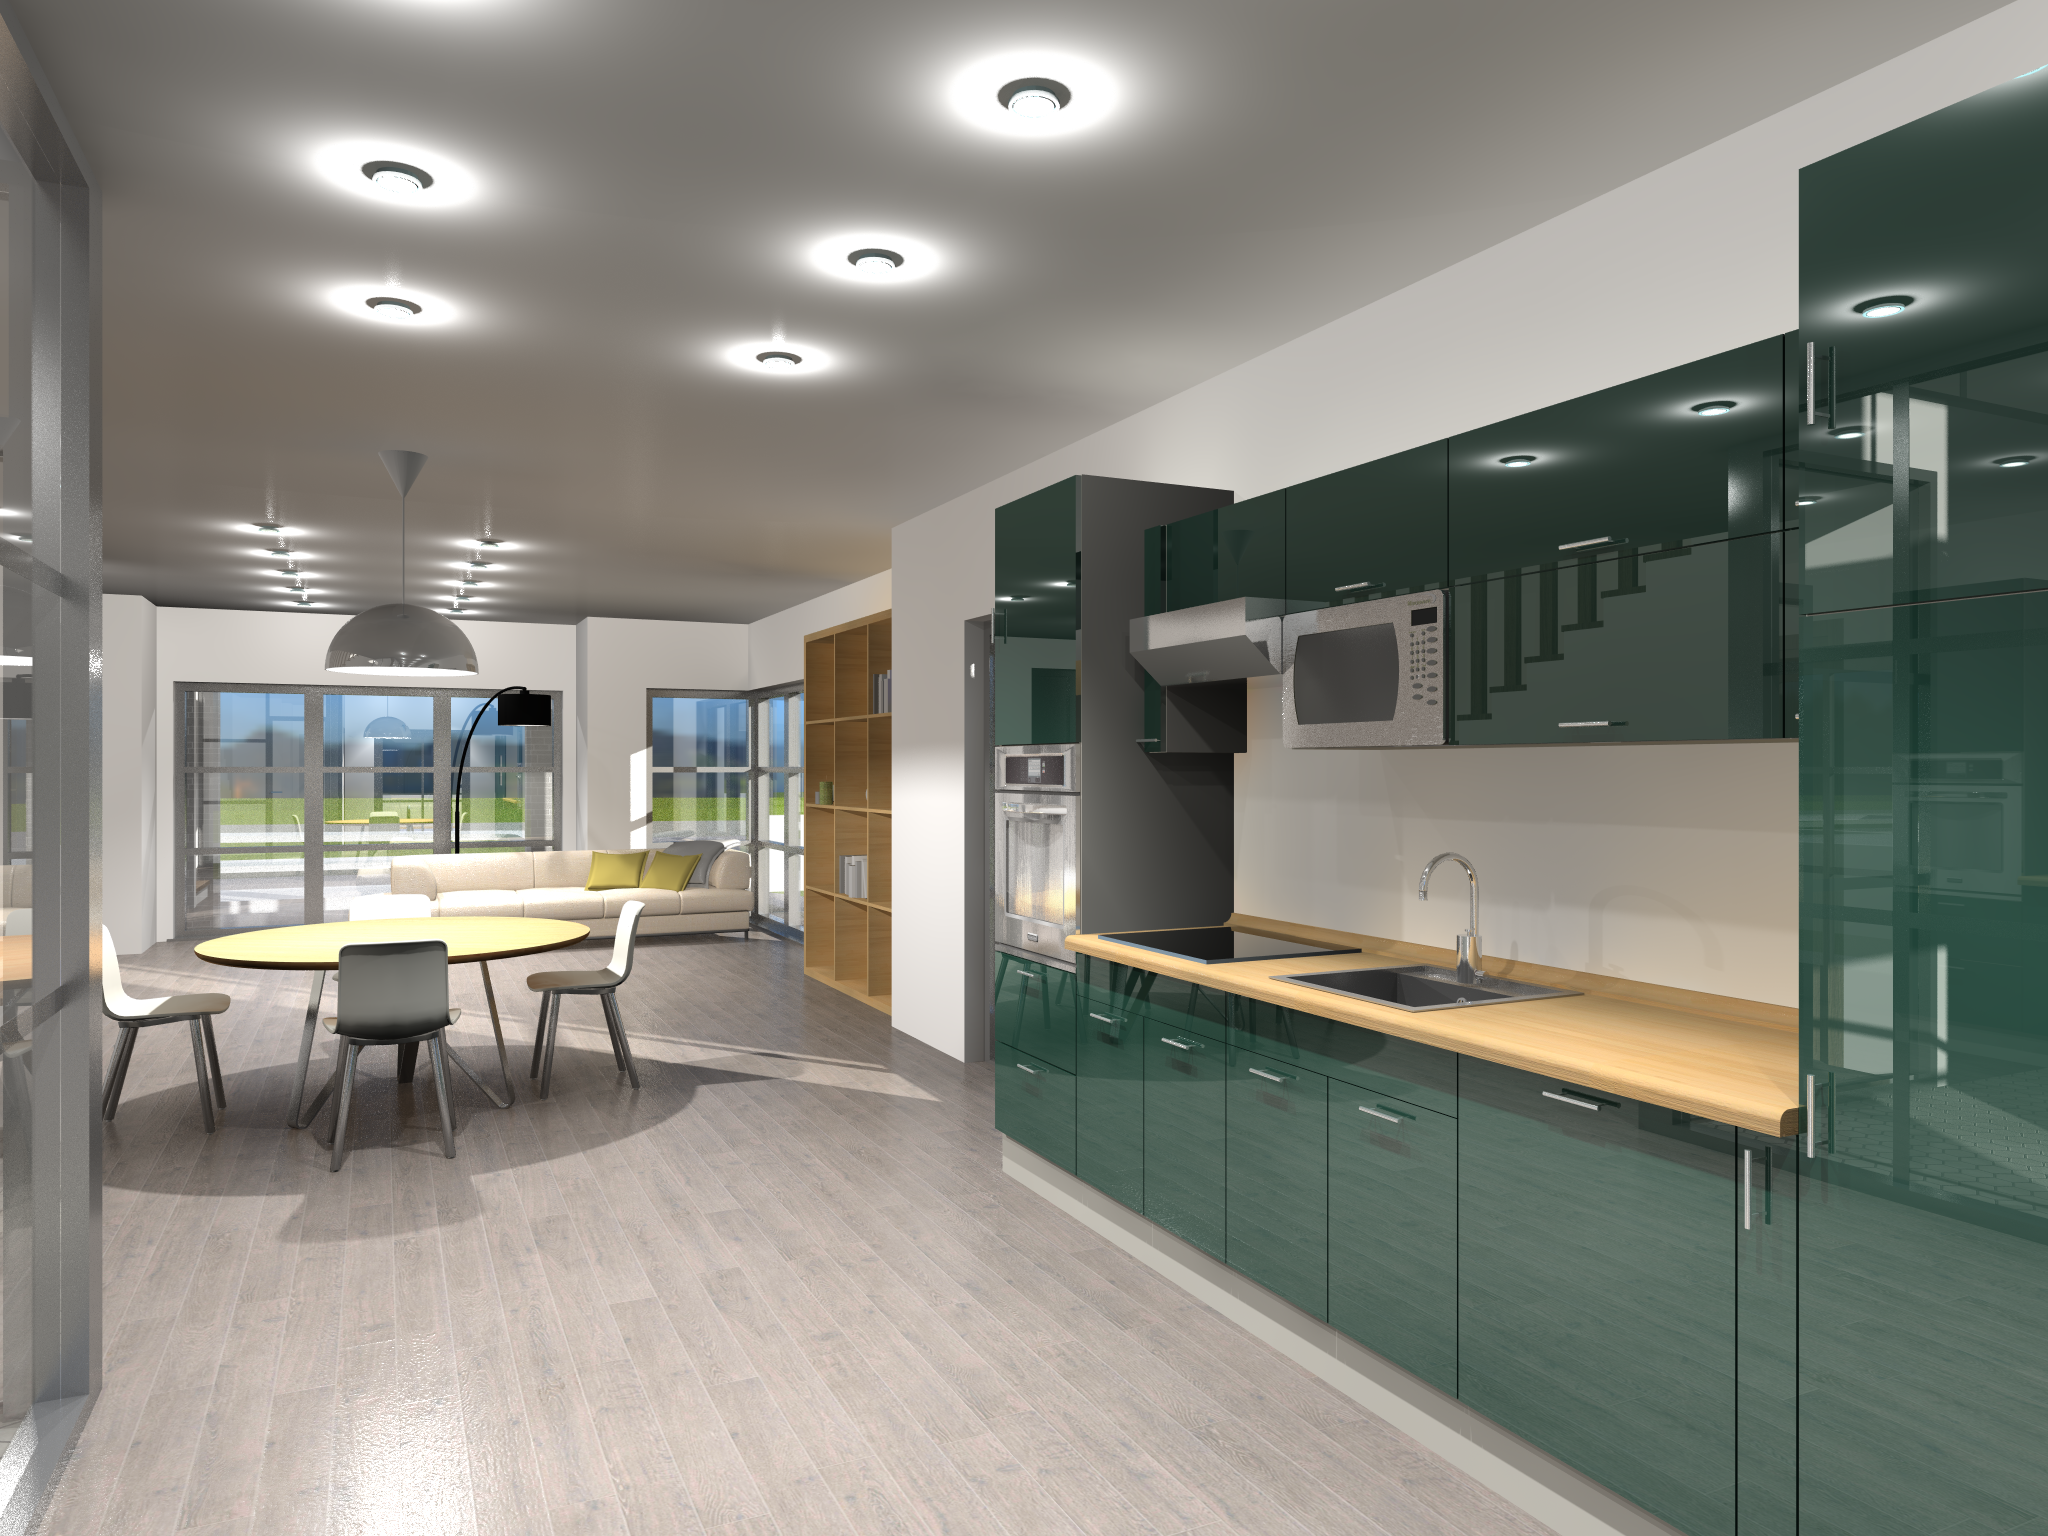 Rendered image with the use of Render Styles
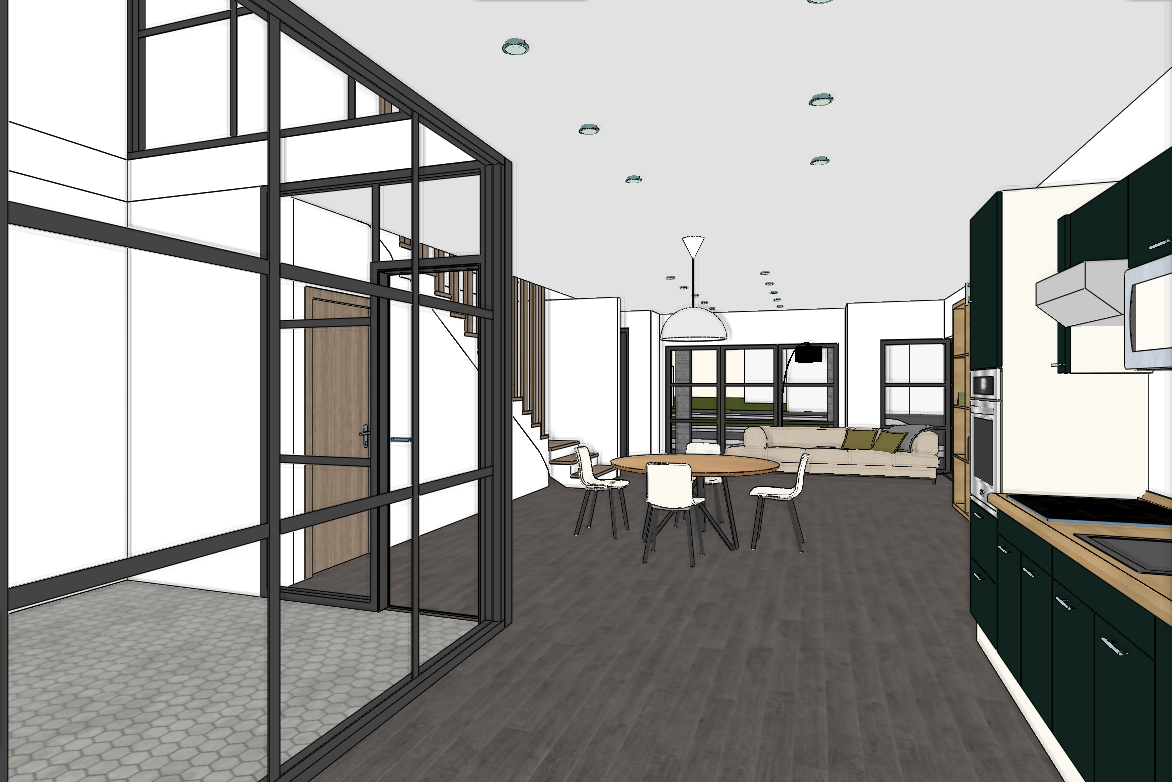
 Rendered image made WITHOUT using Render Styles
-
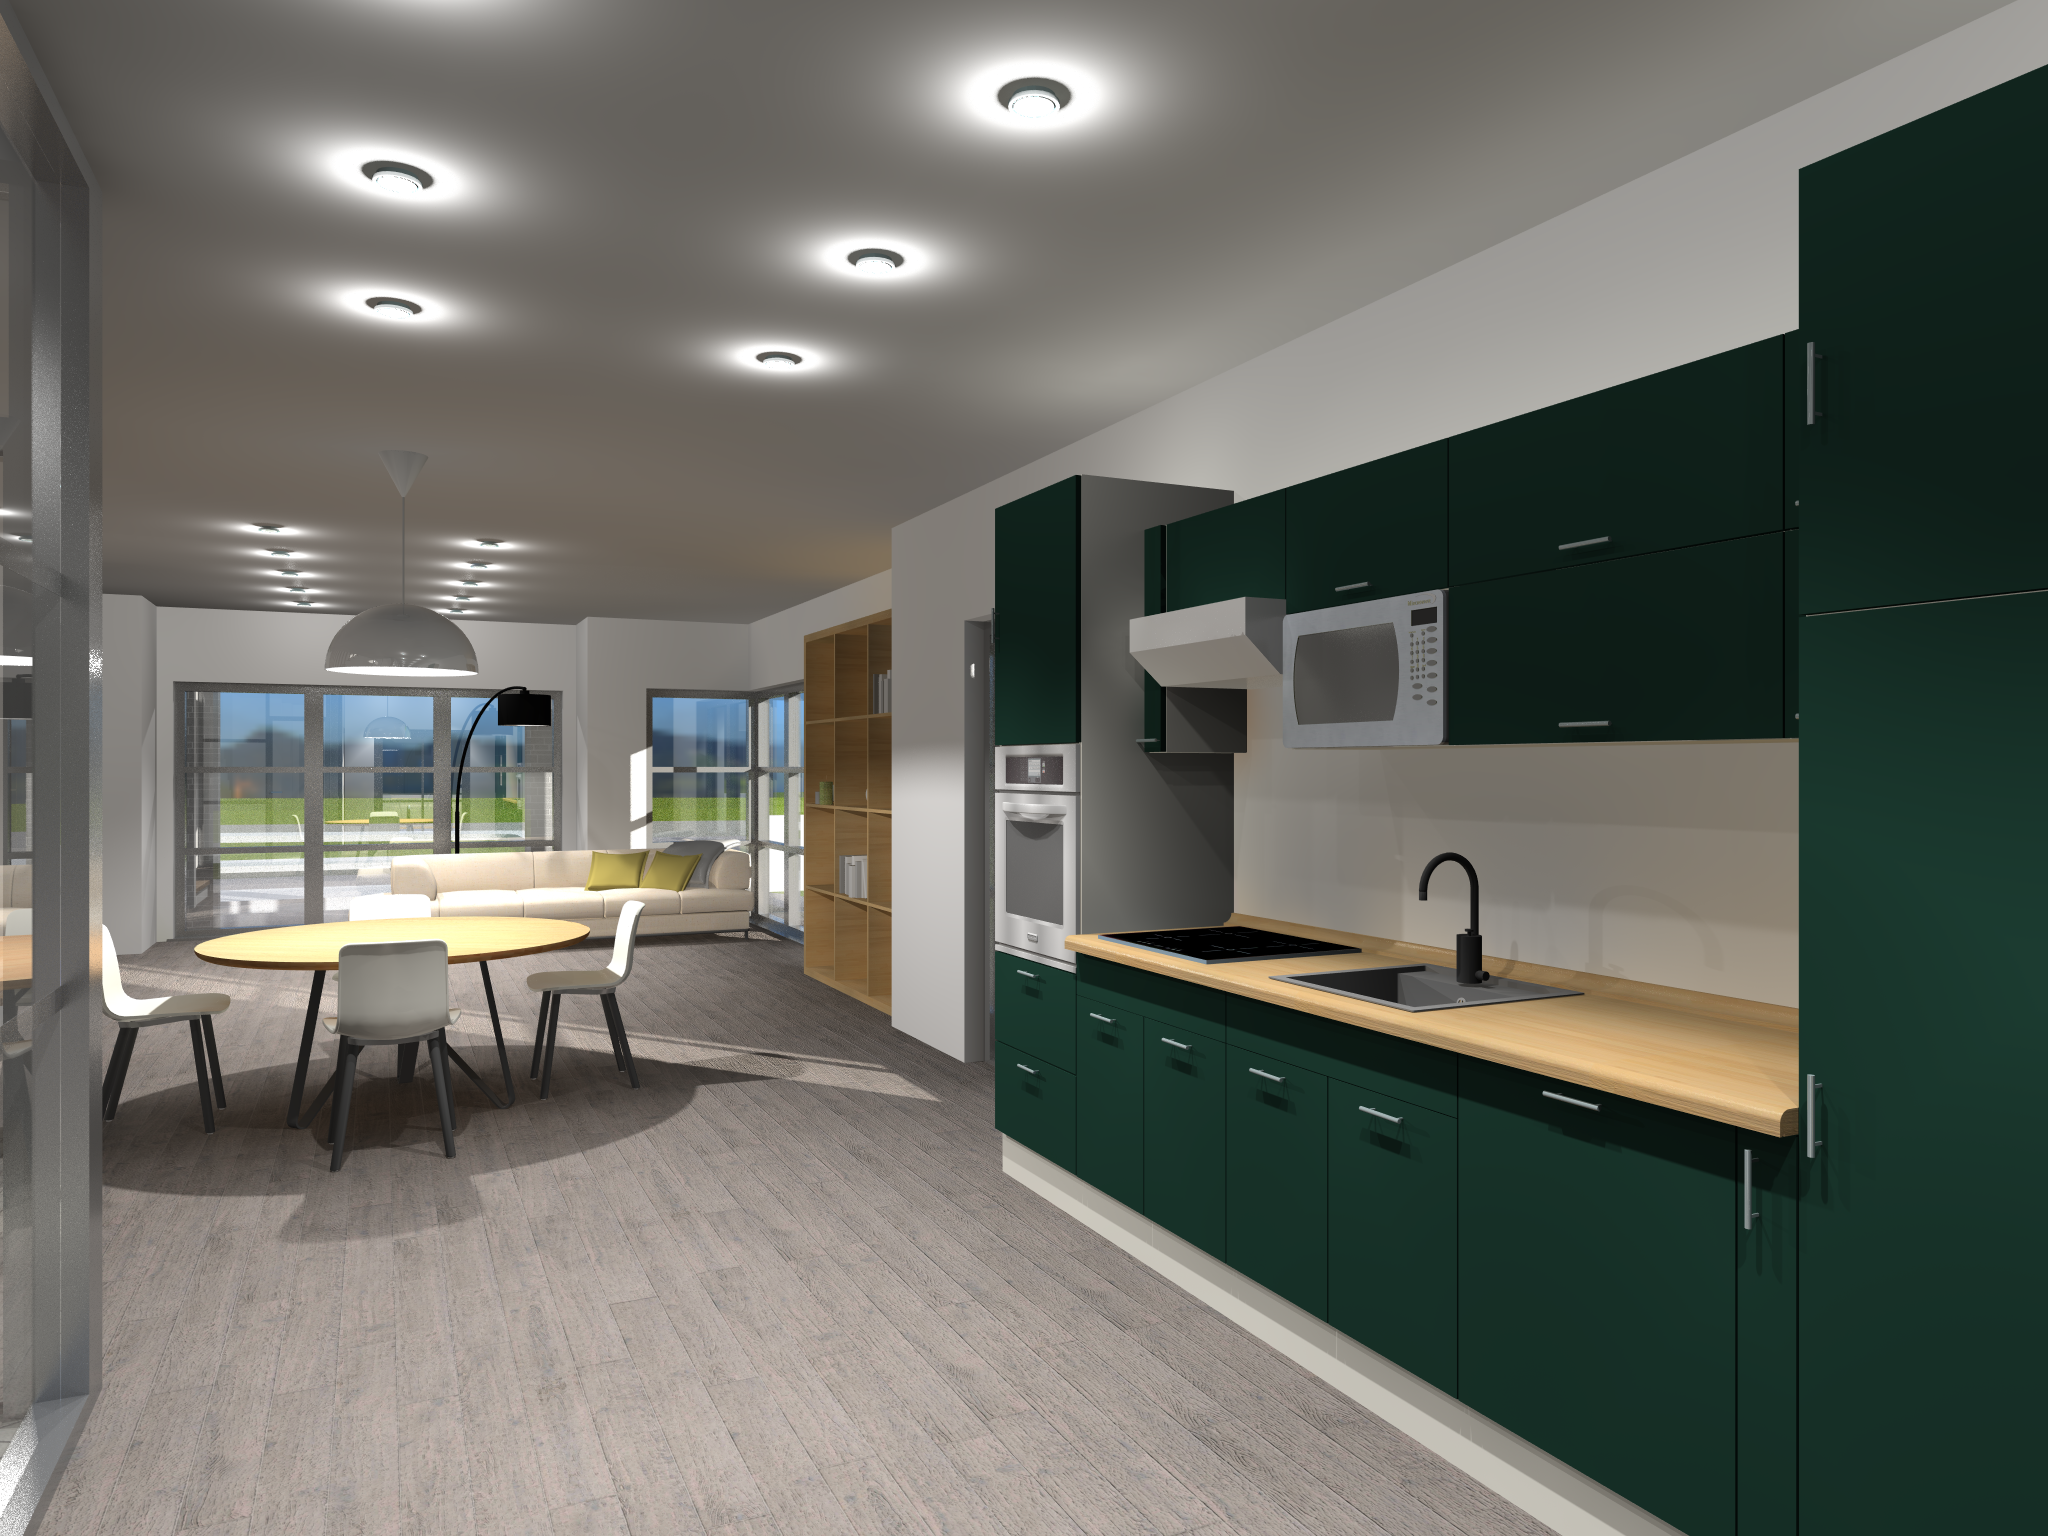
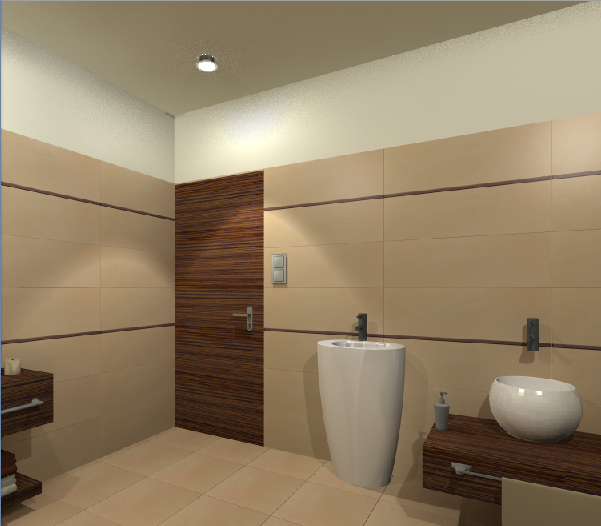
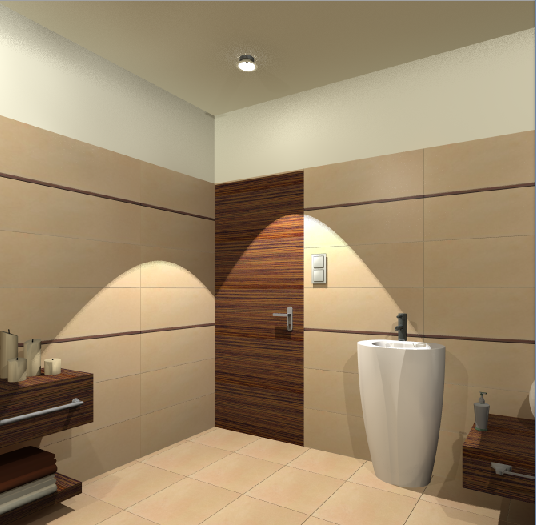
Artificial lights
The next step is the placement of artificial light sources in our project. This is not only important for a nighttime scene, but also for projects we want to show at broad daylight, as there are scenarios, when natural light coming in from the outside is insufficient to light up our scene by itself.
We can place lamps either from the ARCHLine.XP Design Center or from our Showroom - in both cases, lamps will come with their own preset light sources. If we download a lamp from the 3D Warehouse or BIMobject.com, we can assign light sources to them manually. If we can't find what we are looking for, we can always create our own, customized light sources, or we can import .ies files, which contain actual, real-world light maps.
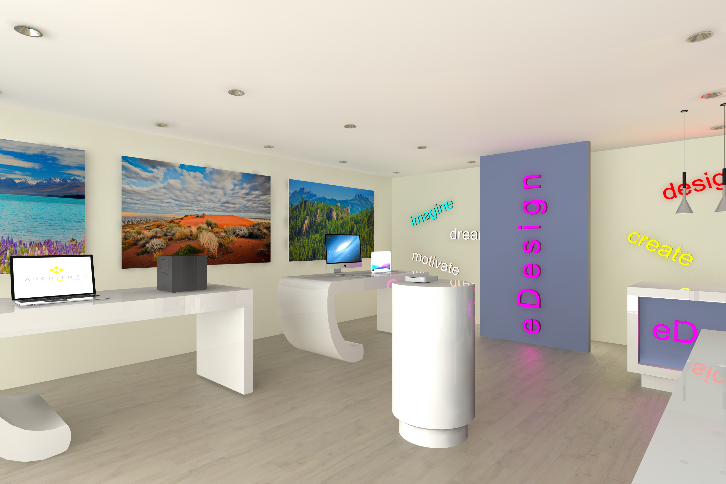
 Picture made using IES light sources
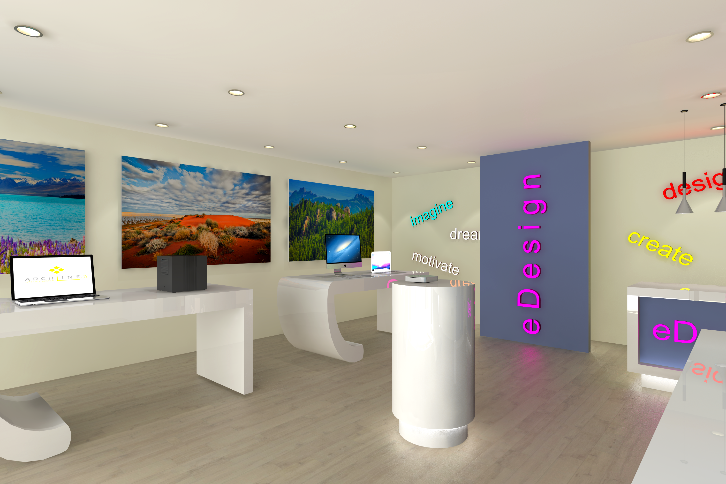
 Picture made WITHOUT using IES light sources
-
Natural light
Next, we should orient the scene, so that we can get sufficient natural light inside. We can specify the North direction, geolocation in ARCHLine.XP, adding the city or GPS coordinates, where the project is located. We can also submit the date and hour of the scene we want to render. Based on this data, the program will calculate how the sunlight will come in, where it comes from, and, in which angle, in that particular time of the day.
If we are not going for the actual real-life circumstances, but instead want to show the project in the most favorable settings possible, we can use the Heliodon tool, which allows any kind of Sun position to be set up. Use the two sliders to set up the Sun the way you need it.
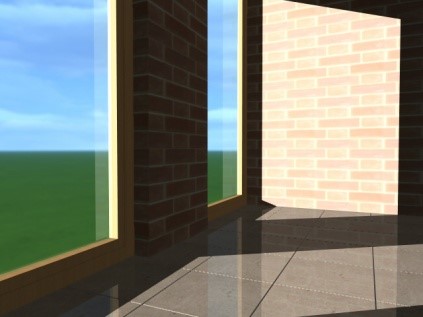
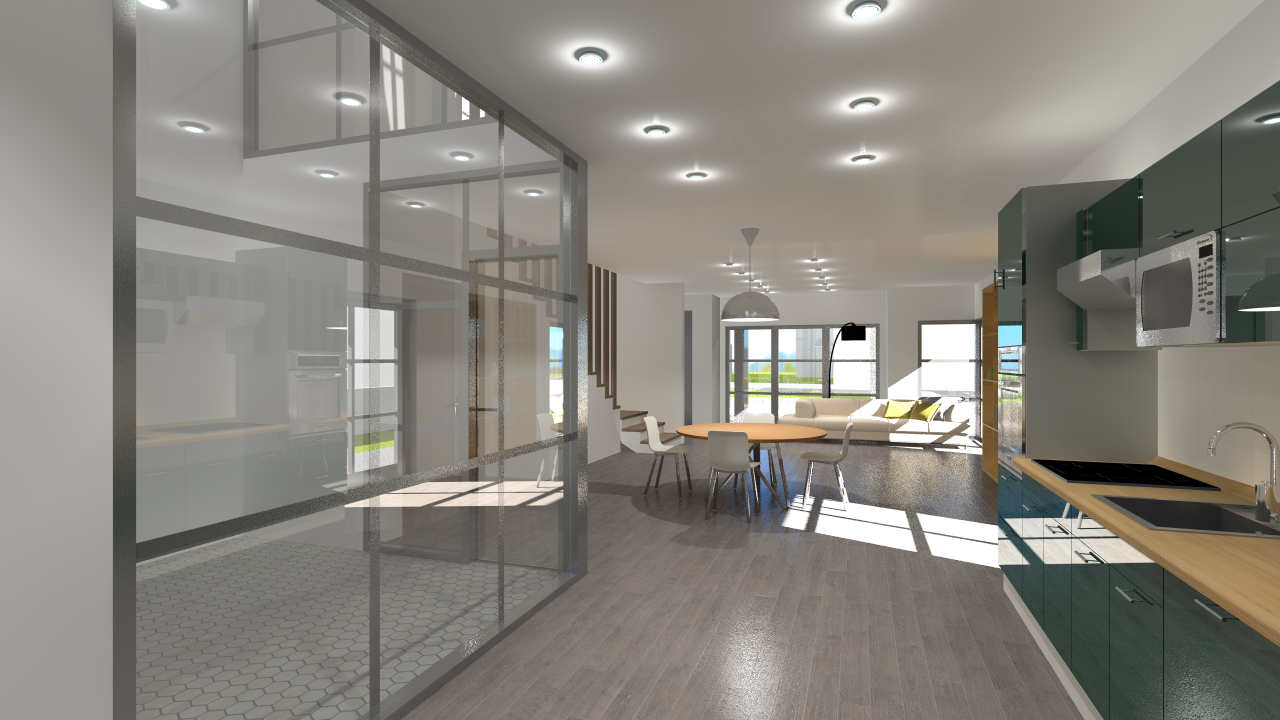 Rendered image made with daylight
 A nighttime rendered image
-
Render settings
When we are done setting up the project, we start the renderer, so that we can adjust the properties of the image we want to create.
Our first stop is specifying the resolution. The higher this value is set, the more detailed the image will be. Keep in mind that a higher resolution also means more processing time. We should always try to find the ideal balance, where the image is detailed enough, while the rendering time is kept at a reasonable level.
Next, we have the Render quality. Here we have four options: Exterior - Quick render; Interior - Quick render; High detail render; Real-time draft. A final render is usually done using the Interior or the High detail render options. These result in higher quality, however, we should add that the High detail render should only be chosen if such a demanding setting is needed, because the difference in the quality between the Interior and High detail renders is not necessarily significant, while processing time might get longer when going with the High detail option.
Based on the scene we want to show, we can enable artificial lights and sunlight. Enabling Bump mapping should also result in a more realistic end result.
As for Background, we can toggle between images, panoramic images, gradient, or we can add our own photographs, taken at the scene.
It's good practice to pay attention to the Background brightness option, in order to avoid a burnt out, unrealistic end result. Generally speaking, when working with interior scenes, a darker tone should be chosen, and for an exterior scenes a brighter setting would fit best.
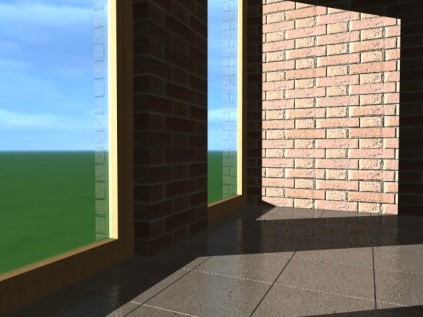
 Artificial lights DISABLED
 Artificial lights ENABLED
 Bump mapping DISABLED
 Bump mapping DISABLED
-
Rendering effects
While the program is rendering, there are a few settings under the Effects tab we can set up, so as to modify the final result's brightness, contrast and other features. These settings we can modify also when the image is done.
It's good practice to set up the Exposure first. Adjust it in a way that your whites are shown appropriately. These changes are visible on your rendered images instantly.
Be careful about the settings under Effects. If you crank things up too high, or down tune them, the end result could be unrealistic.
If we want to go back to the default setting at any of the sliders, just click on the icon just before the slider. This will revert the changes back to their original setup.
If we need to undo all the changes we have had, click on the Reset all button at the bottom of this window.
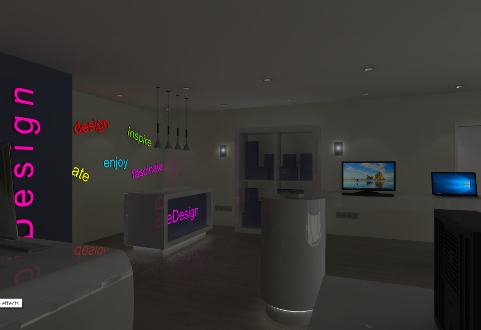 Exposure at 230
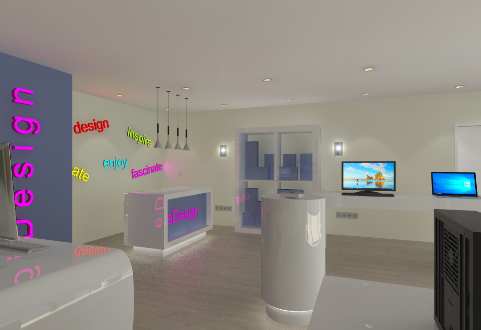 Exposure at 330
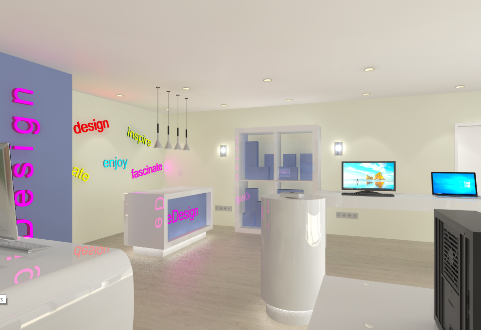 Exposure at 430
-
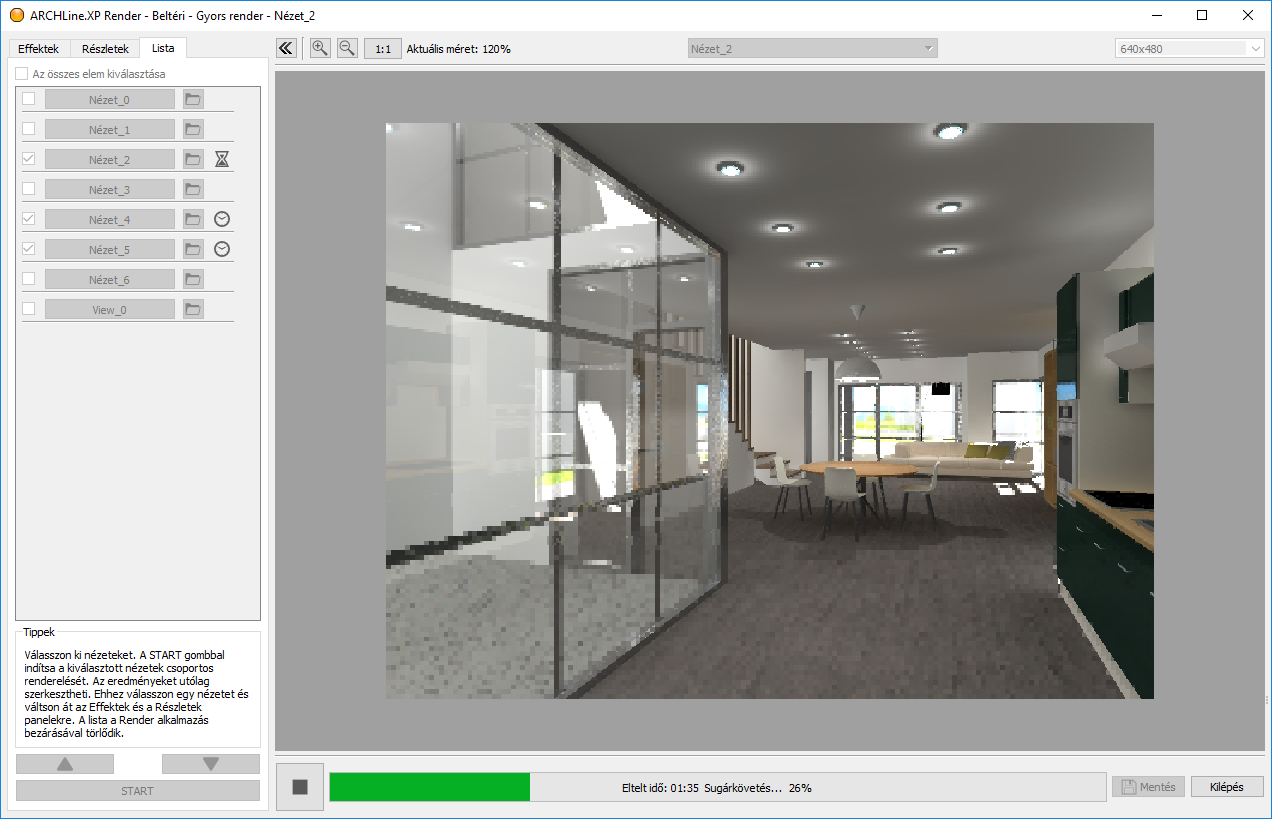
Render list
The third tab in the Render window is for creating Render lists. Creating renders is a long process, even if we are just creating one single image. If we want to crank out multiple images, we have to pay extra attention to always saving the images we did, and we also have to be very careful about loading up the next image to be worked on, not to mention when we accidentally forget to start the rendering process in the first place. The Render list feature aims at making this process less manual, and more automated.
We can choose which of the previously saved perspective views should be turned into rendering images. Once the process is started, the program will go through all the selected views, process them, and saves the end result into the folder we see next to the name of the views.
Our article has been a quick recap of the rendering process. If you want to know more, feel free to browse our online tutorial videos.