Professional articles | Blog | ARCHLine.XP
Rendering guide
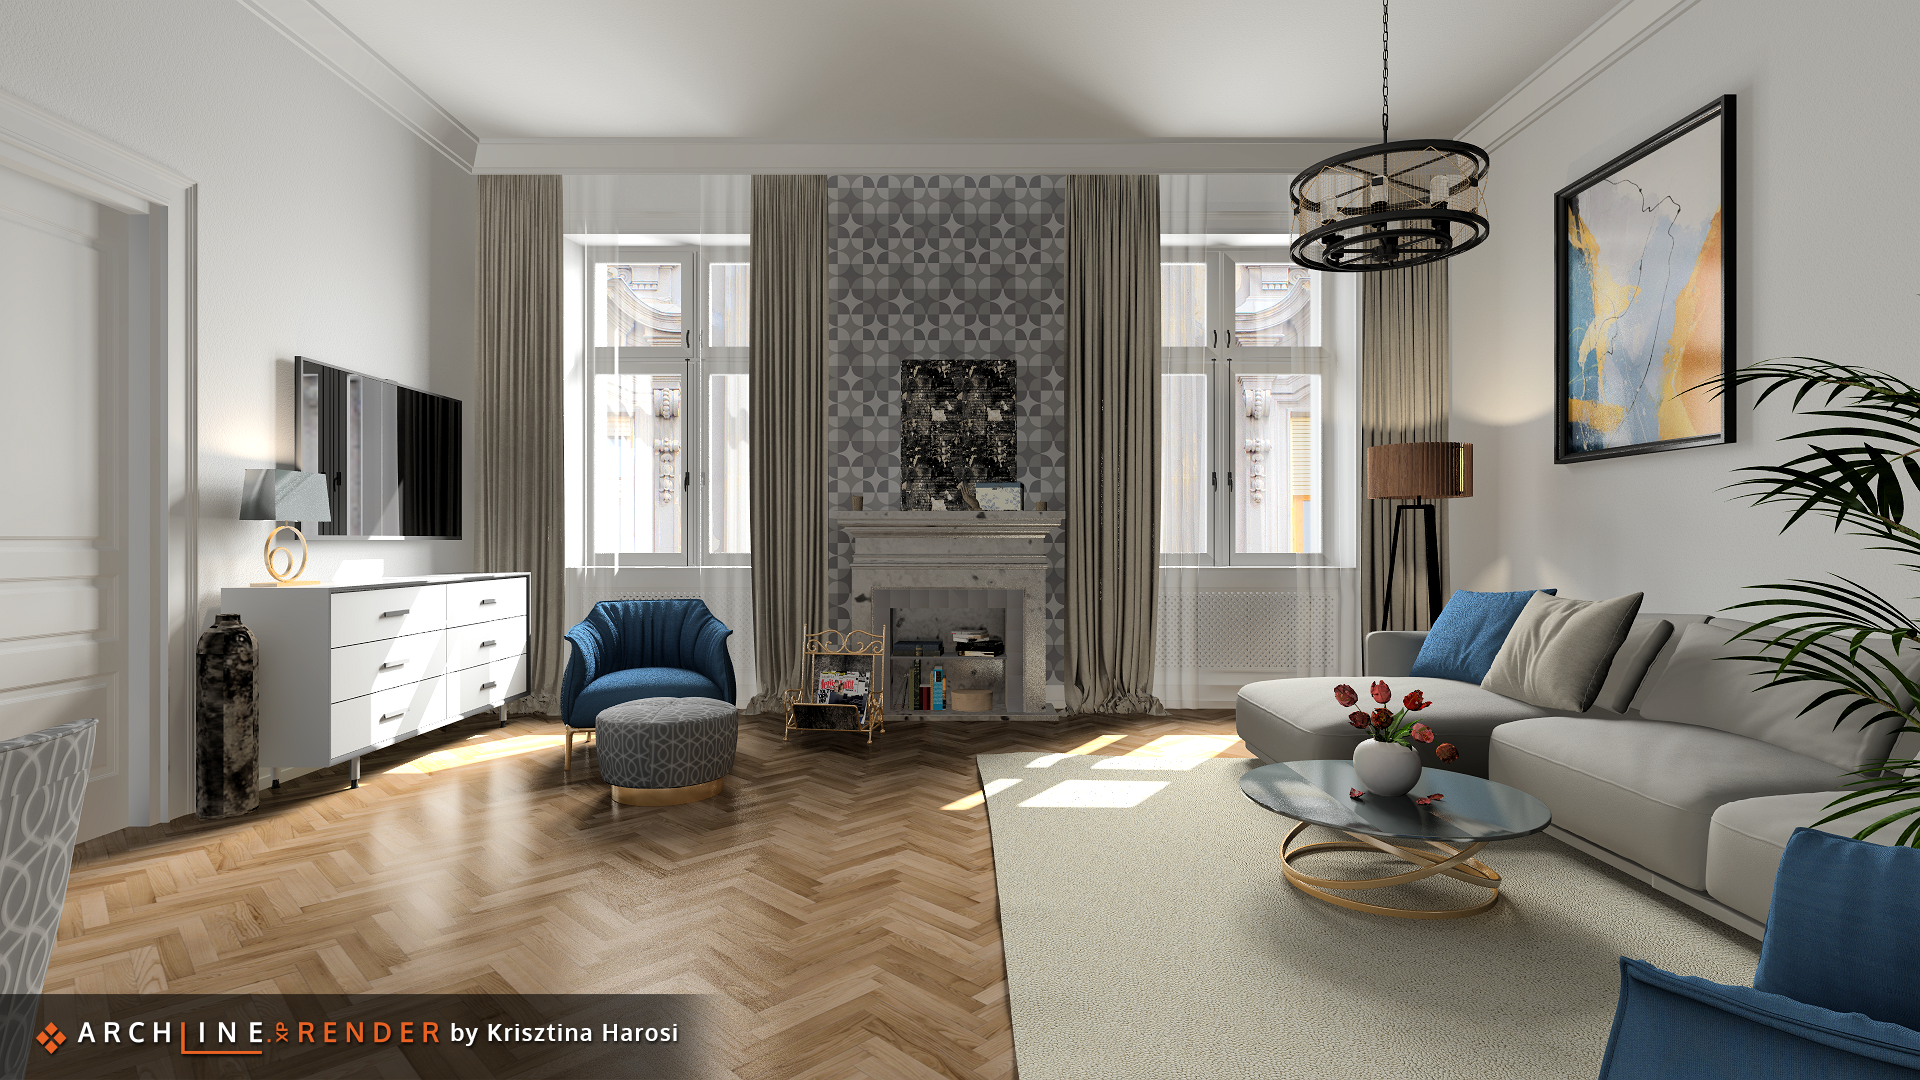
Taking a good photo-realistic image is not the same as pressing a button.
You have to learn to deal with lights and shadows, you have to know the physical properties of materials, you have to find the ideal point of view, and you have to gradually build up a photorealistic image that looks realistic.
The guide in this article are from ARCHLine.XP 2021. If you are using an earlier version of ARCHLine.XP, the User Interface might be significantly different.
The guide below is intended to help beginners and show you the main steps. In addition to the method below, there are many other ways to achieve the desired high quality photorealistic image. Good rendering is the combined effect of many settings, which can be ruined even by setting a value incorrectly. There is no free lunch, you have to learn a lot, try, test and experiment.
With ARCHLine.XP 2021's renewed rendering engine, you can create attractive, realistic images with a series of steps below.
1. Use transparencies. Architectural elements, large furniture, lights, additional objects should be on separate layers.
2. Set up 2-3 perspective views from which the scene can be well presented. Recommended values: Viewer and viewed point at one height (between 1.10 - 1.30 m), opening angle between 60-75 degrees.
3. Set a clear day position. Turn on the shadow to see clear shadows.
4. Make corrections. Start a quick sketch rendering and if you don’t like the scene, look for a new day position.
5. Turn off all layers until you get the clean architect model. Only walls, slabs, ceilings, doors, windows should remain visible, possibly the roof if we are in the attic. These will be the large surfaces in the scene, so you need to set their display first.
6. Use drag-and-drop to assign render styles to them as a starting point.
7. Turn on transparencies that contain large elements and make the same assignment.
8. Approach the characteristic elements (e.g. fireplace, sofa, table, kitchen counter, etc.) and start the first real rendering. Low resolution (max. 800x600), in I03 mode, with low light sampling rate (max. 24). The image will be a bit noisy but this is a trial rendering when we have to judge the whole image. Thus, in 1-2 minutes we get a good quality image close to the final appearance of the selected detail. Refine the texture material properties if you do not like the result. Brightness, reflection and refraction, which is worth clarifying first. Always check the new setting with another rendering.
9. Open the scene and focus on adjusting the white walls. Reflection off, refraction (IOR) 1, brightness between 0.5-0.8.
10. Parquet usually requires a lot of experimentation. Have reflection, but not excessive, refraction should be relatively high 1.6-1.8, reflection blur is minimal.
11. Deal with metals and fabrics. Approach the selected object again and repeat step 8 as appropriate. Fabrics benefit from the use of bump mapping, and metal reflection (0.4) and refraction (3-4) are generally high.
12. Turn on the lights, good for the scene of the artificial artificial lights and the coordinated effect of sunlight, will be bright enough.
13. If so far everything is going as expected, turn on the layers that contain all the other elements.
14. Start an I03 Indoor Scene with full setting at a slightly higher resolution (1280 * 720) for the last test rendering. The light sampling rate shall be 64.
15. If this is also good, set high resolution (Full HD, 1920 * 1280, or higher if necessary) and increase light sampling rate (at least 64, but can be 128 as well) and start the final rendering. Feel free to go for coffee it will take at least 20-30 minutes. The more light sources, the longer the rendering time.
Anyone who follows the above workflow will surely be able to generate a high quality photorealistic image. Of course, this short guide can't cover all the cases, rendering is a process that requires a lot of learning and experimentation in any render software.
The result, on the other hand, will be a smile on the customer’s face, so it’s worth catching on.