The tiling placed on slabs may need some modification in some cases.
Changing the extent and the layout of the tiling is a very simple task, yet the end result is greatly influenced by it.
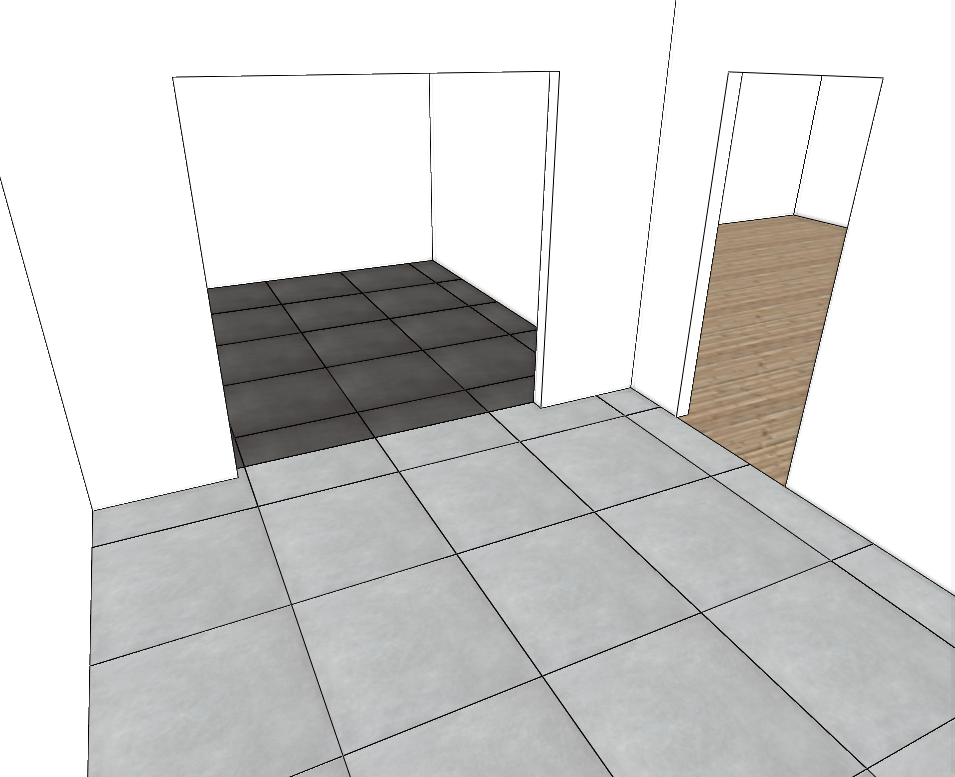
1, In the Room maker select the Floor tiling tab and place the required tiling with any pattern.

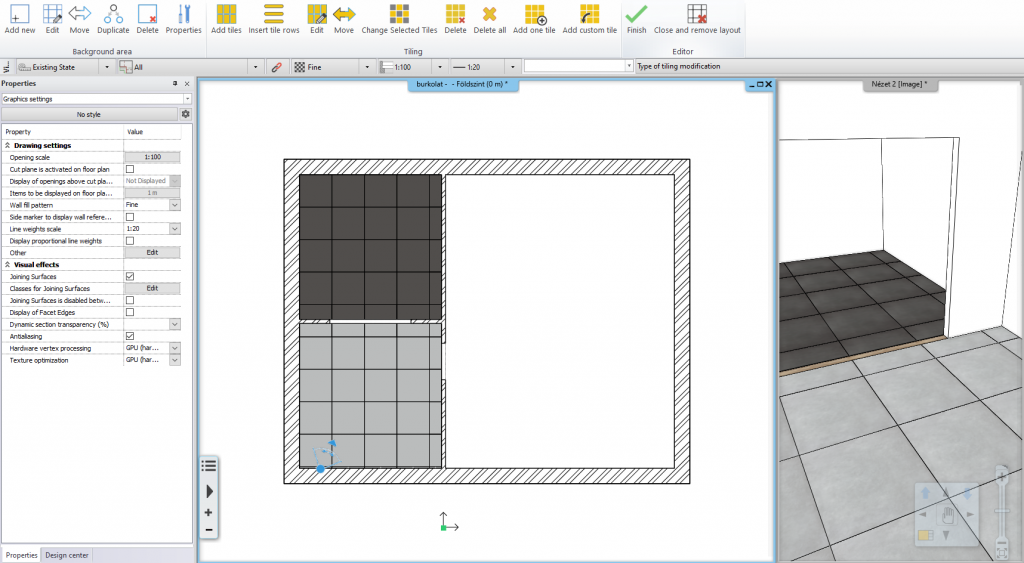
2, Save the changes by closing the window, then on the floor plan select the slab and in the options select the Tiling / Tiling on floor (or in case of one room the Tiling on floor: inside a room only) option. The Ribbon bar shows all the options for editing the tiling: you can change the base area and the contour with the buttons marked in blue, and with the functions marked in yellow, you can make changes to the tiles' layout.
3, Select the Background area / Edit option and select the area that you want to edit.
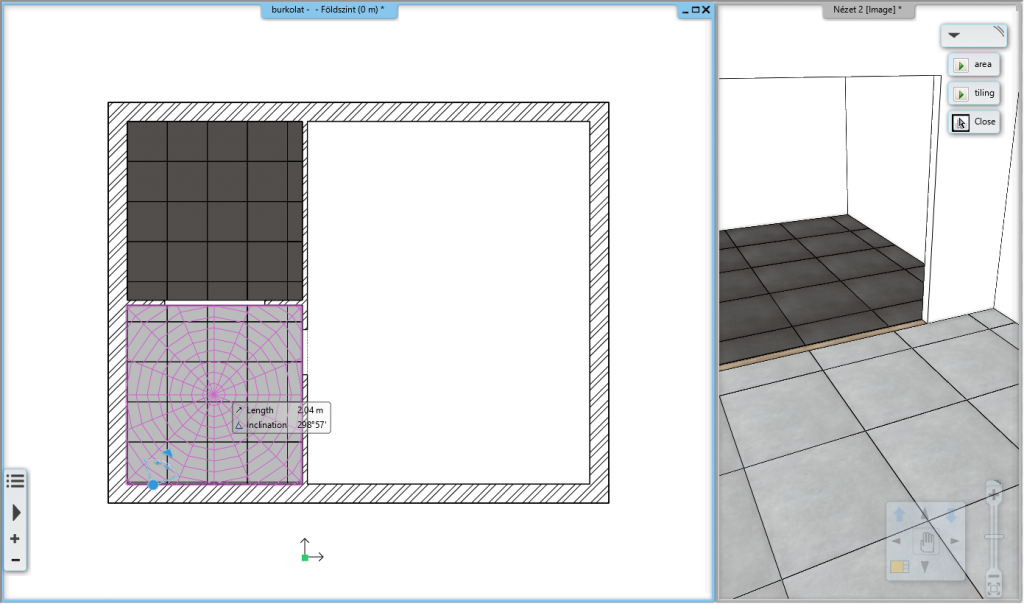
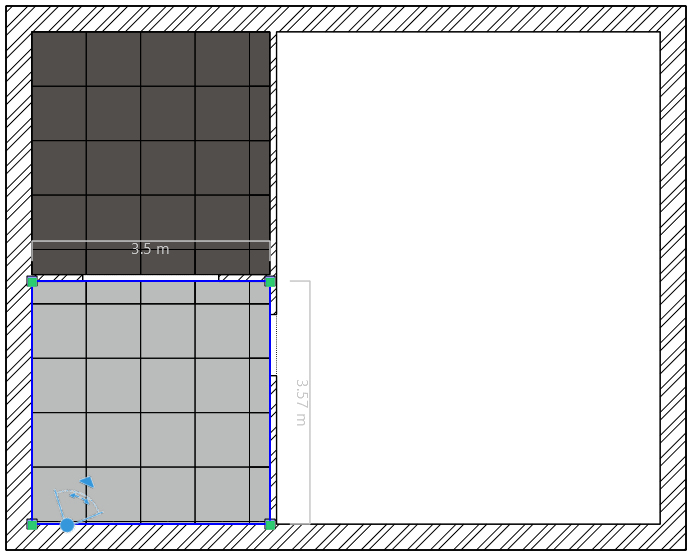
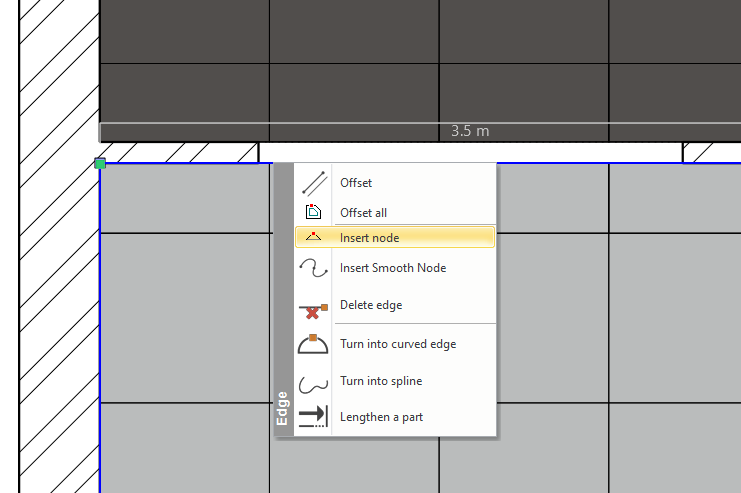
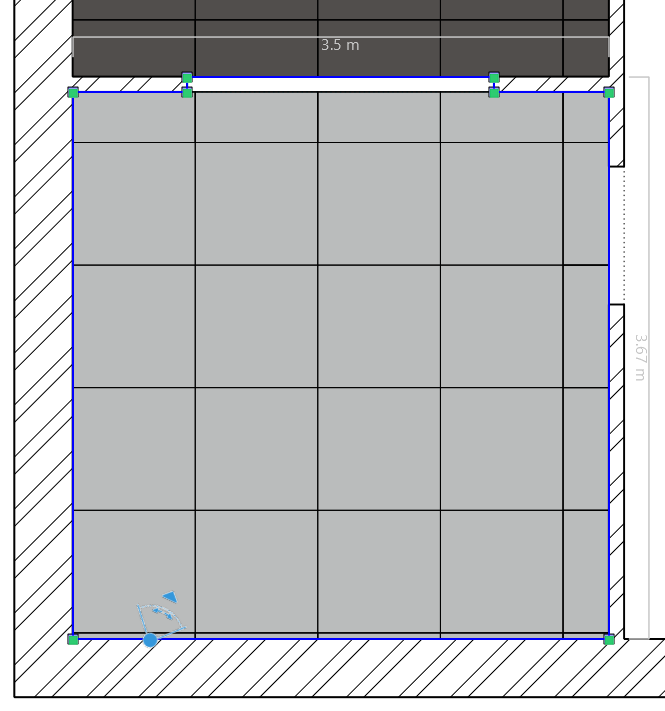
4, Now a blue contour line appears around the tiling you are editing. Click on this line to edit the contour: insert new nodes at the corners and offset the line you just created. Click on the green pipe to accept the changes.
5, If the tiling doesn't appear on the floor plan and the 3D view, then in the Tiling / Edit option place the tiling again.
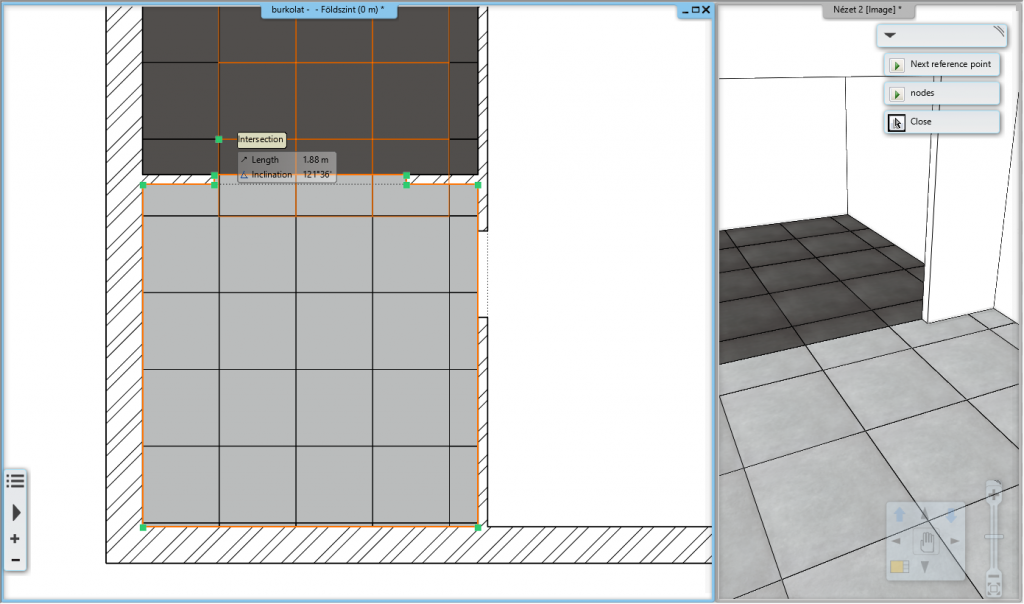
6, In the end of the process, accept the changes with the green pipe button.