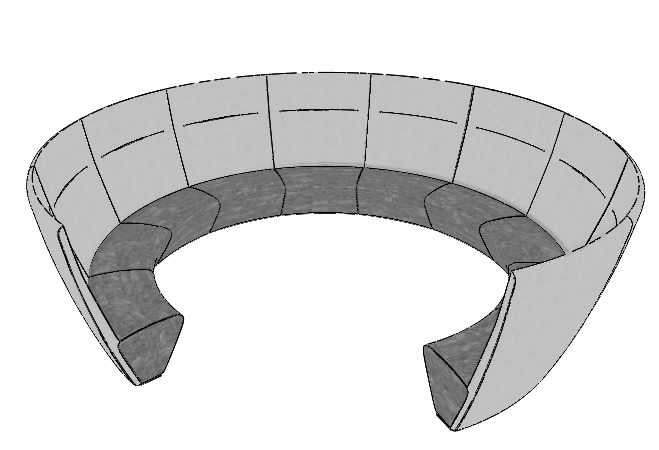
When you import a 3D DWG file it does not appear on the floor plan, only in 3D view? The solution is quick and easy.
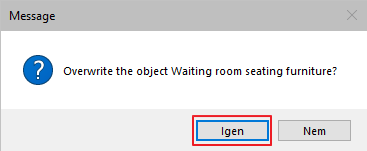
- In the file manager, select the item and drag and drop it on the floor plan. Releasing the mouse button will start the import, and besides the general questions, the following message will appear:
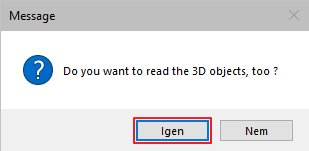
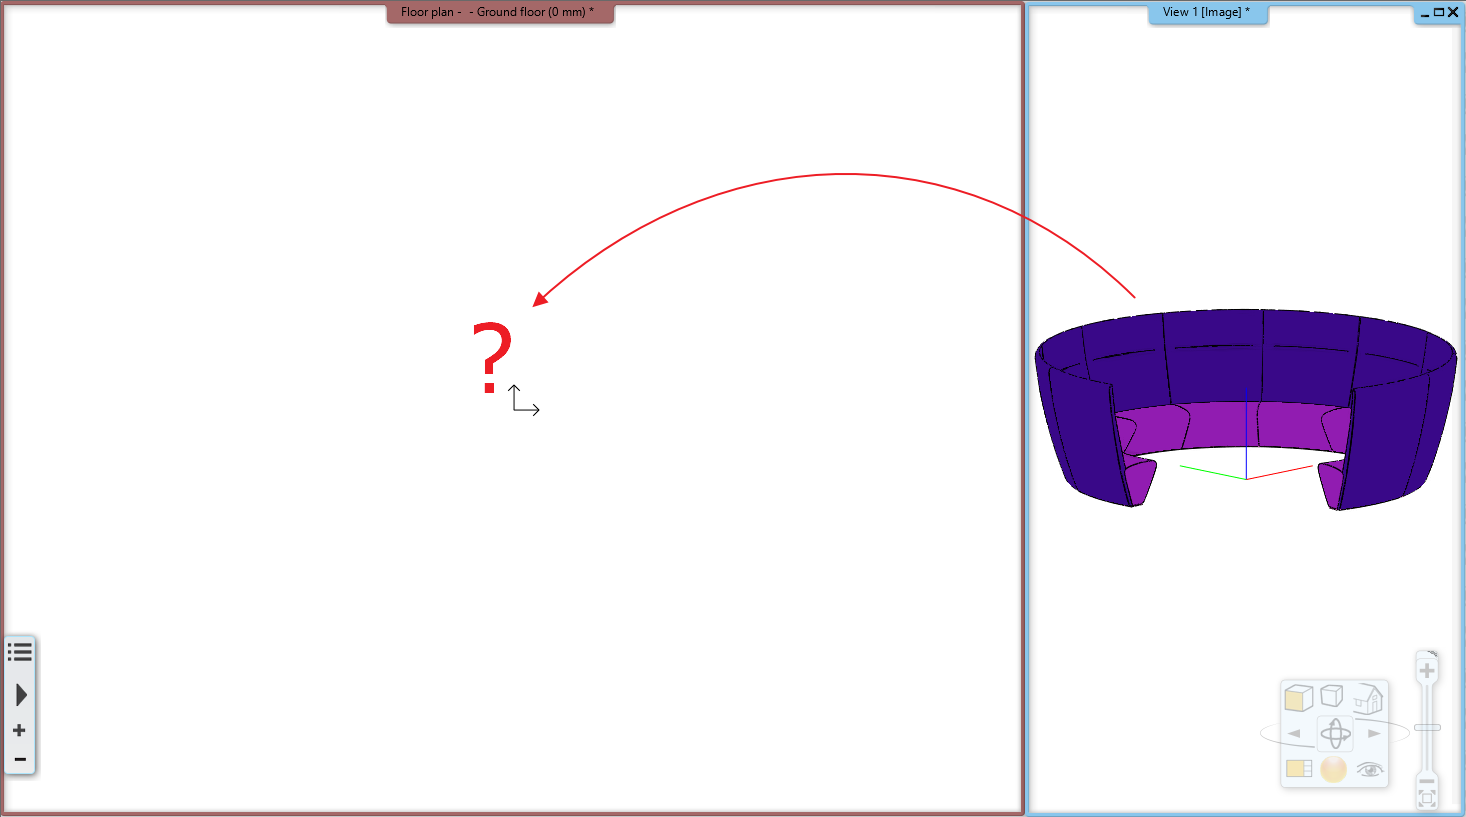
Click yes to complete the import. The imported item will appear in the 3D view, but it will not appear on the floor plan.
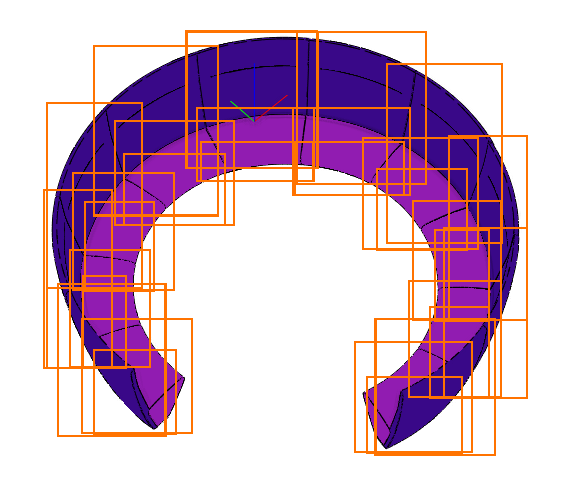
- In the 3D view, select all the objects that you imported from the DWG file, and then click on the New Object command in the local menu.
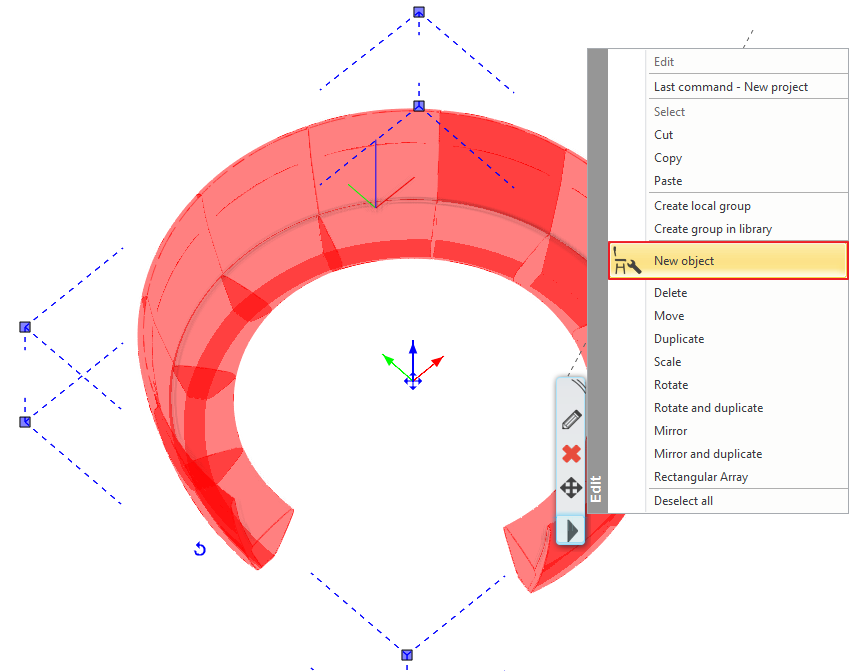
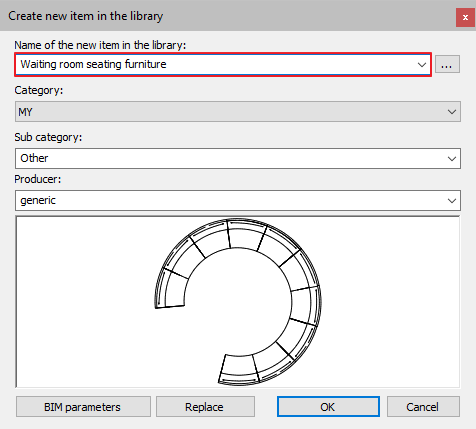
- The program automatically marks which items you have selected, press enter, and create the new library item with any name you like, then select its location in the folder system.
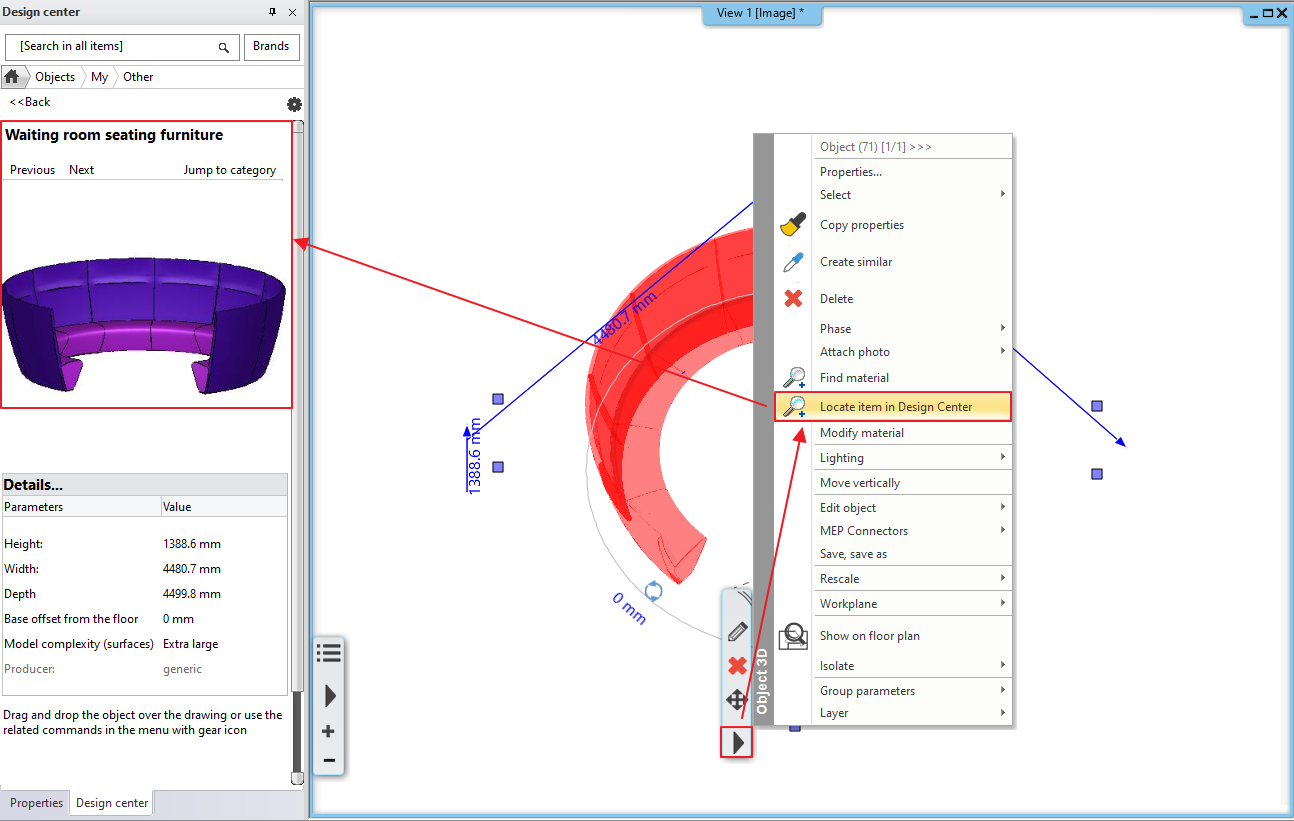
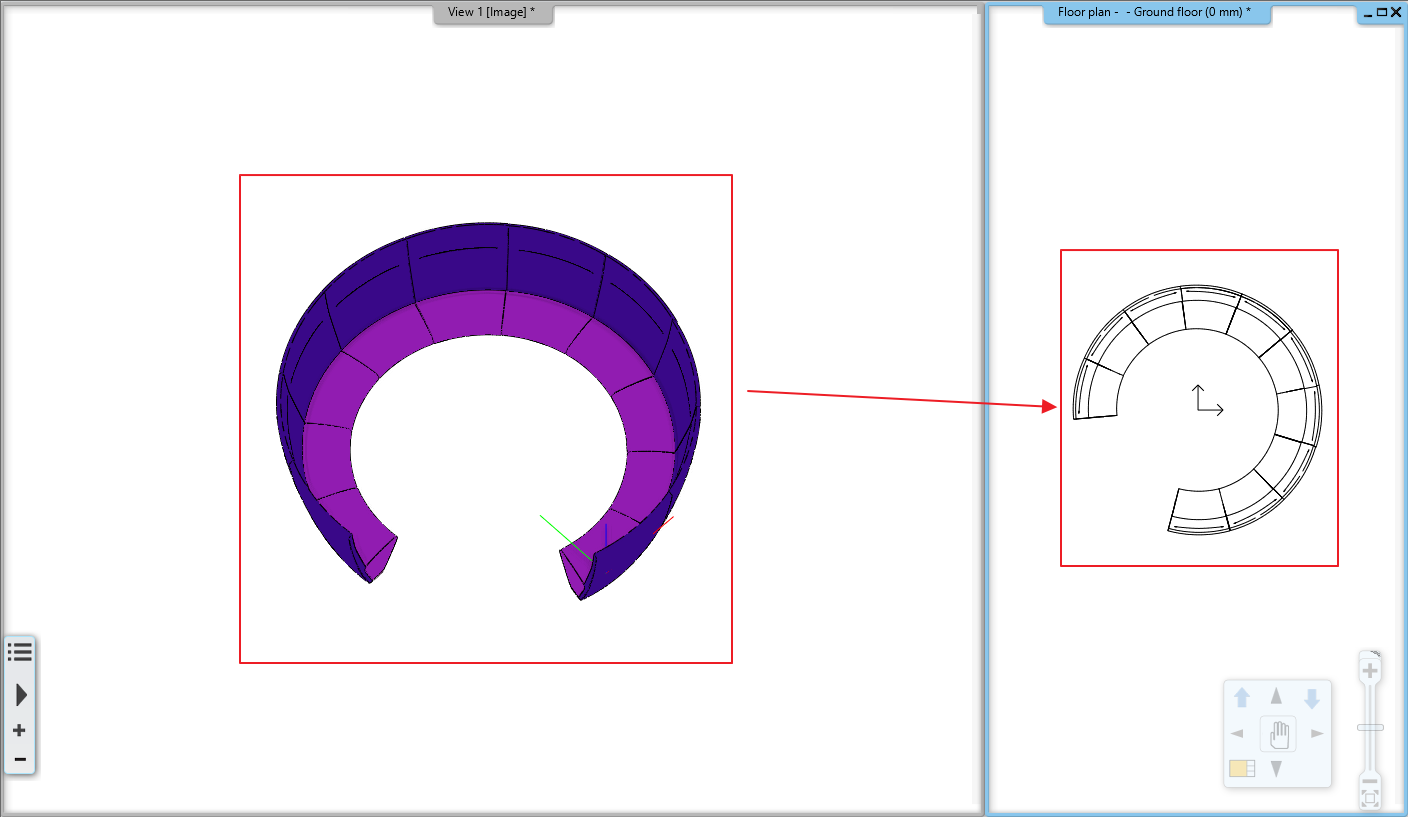
- In its local menu, select the Locate item in Design Center, then delete the object from the 3D view and place the saved item from the Design Center. Now a 2D view of the object appears on the floor plan.
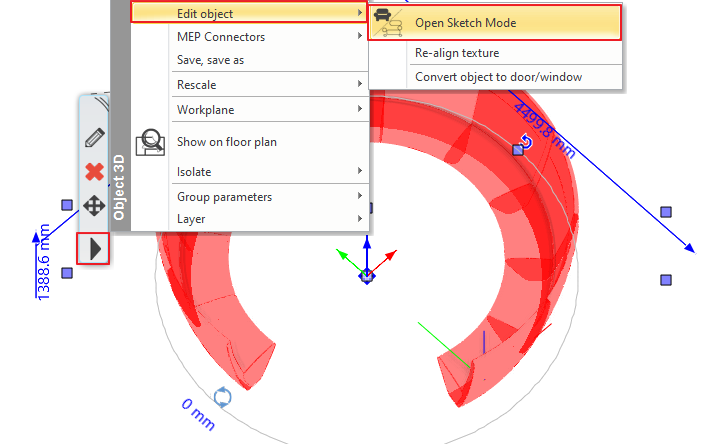
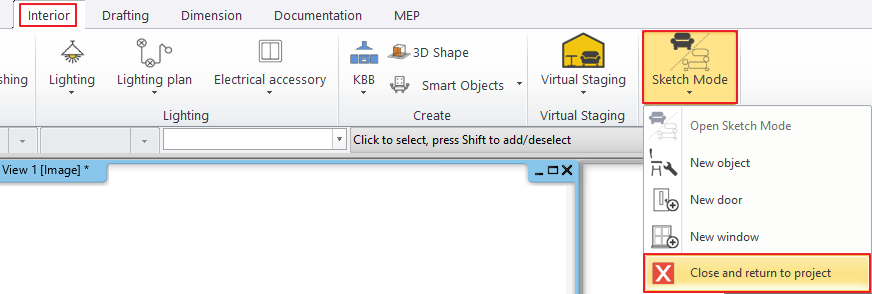
- Select the object and select Edit object > Open Sketch Mode in its local menu.
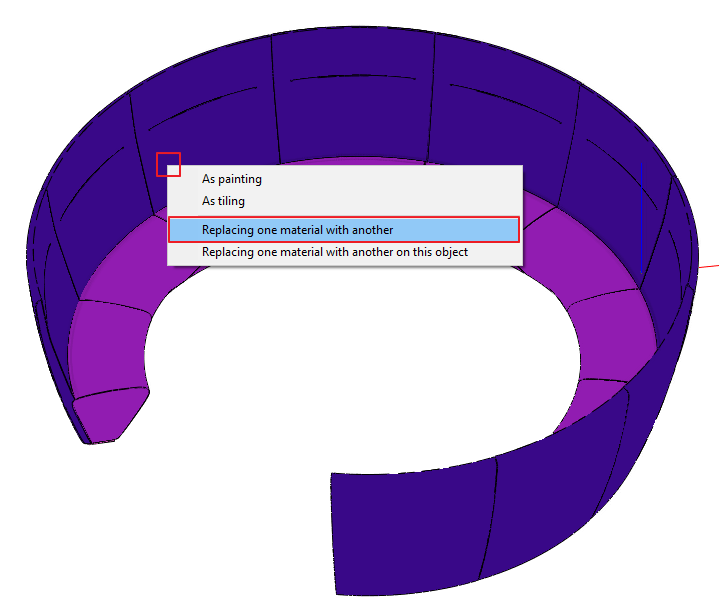
- Modify object materials from the library with any existing material or create a new material.
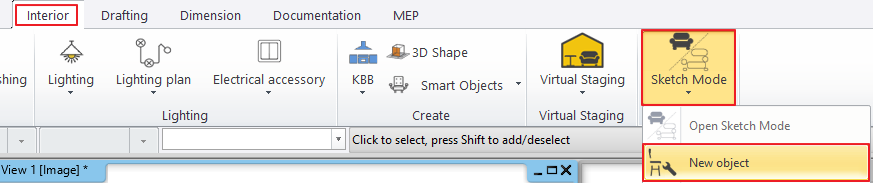
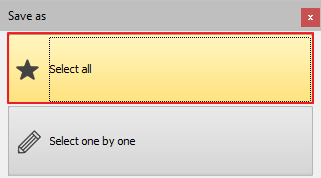
- After modifying the materials, use Interior > Sketch Mode > New object to save the modified object. In the pop-up window, select Select All to automatically select all items, and in the next pop-up window, select Yes to overwrite the item in the Object Center.
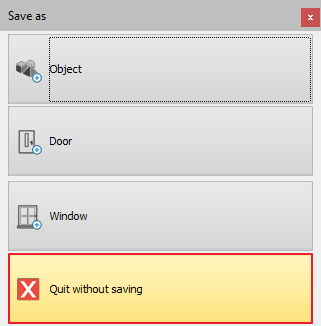
- To exit Sketch Mode, select Interior > Sketch Mode > Close and return to project. In the pop-up window, click Exit without saving (since the edited object has already been saved).
- Delete the object from the floor plan and place it again.