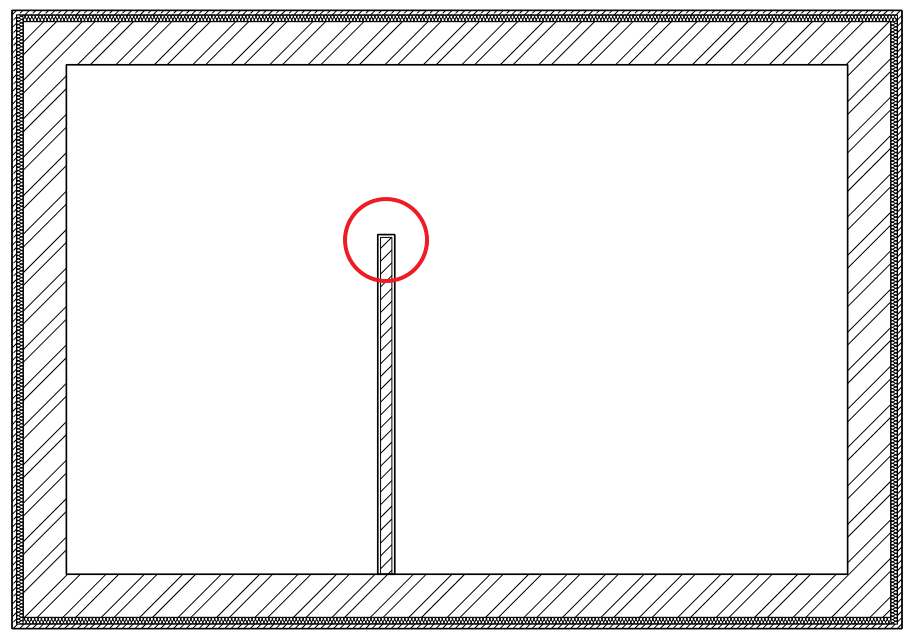
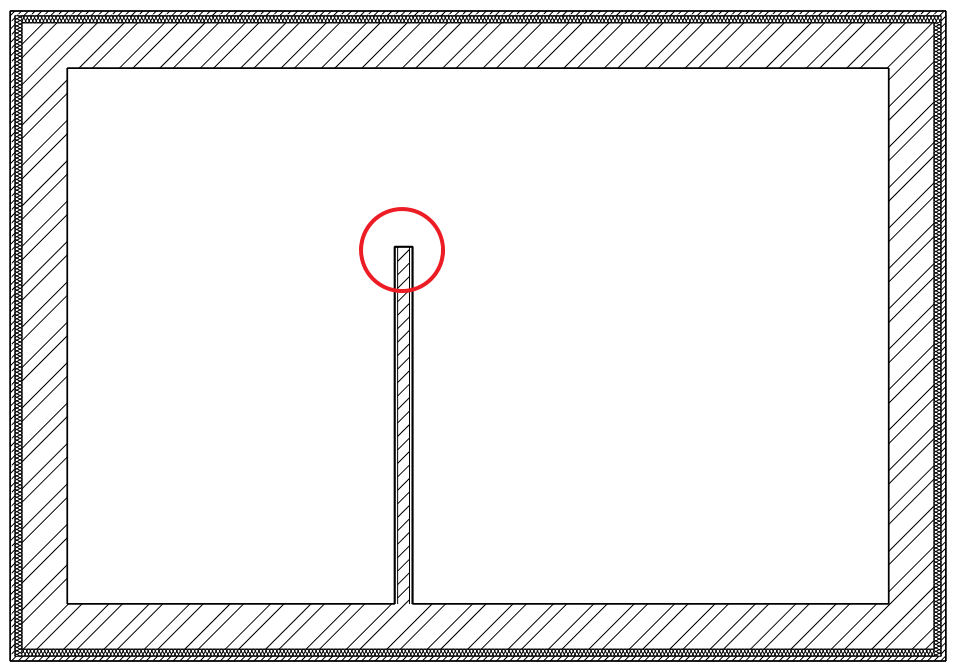
The layers of the wall sections next to the doors and windows can be wrapped automatically, but there is only a manual solution for this at the wall ends:
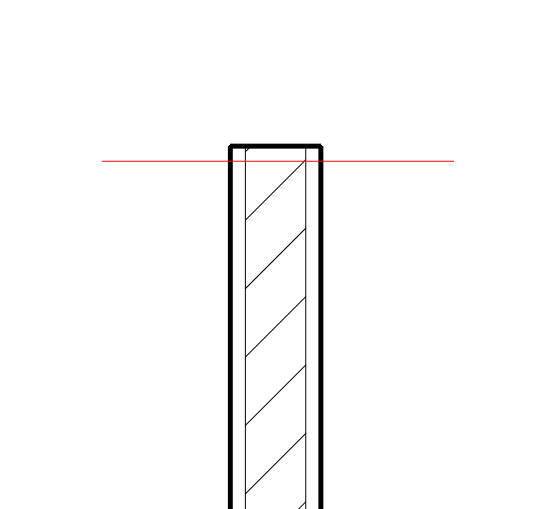
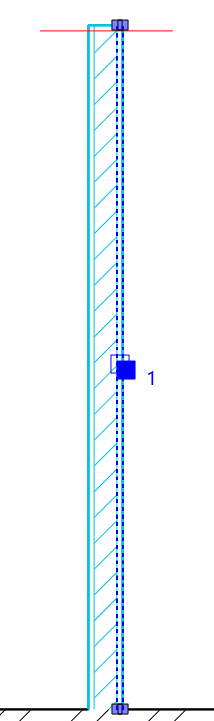
1, Draw a line parallel to the wall end and move it towards the inside of the wall until you reach the desired thickness.
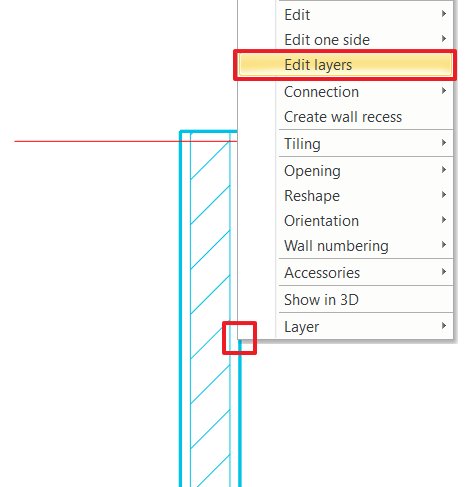
2, Right-click the wall you want to edit and select Edit Layers.
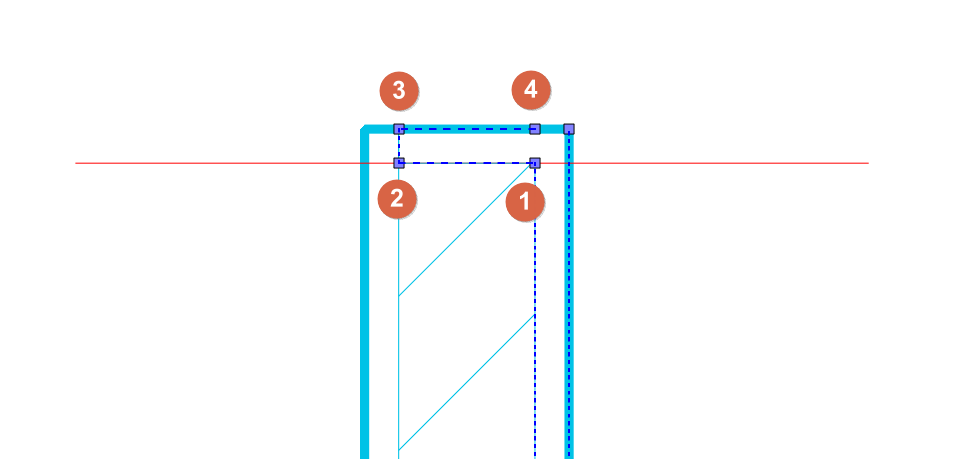
3, The selected layer of the wall is marked with a dark blue dashed line, and the two intersecting squares indicate which layer you are editing. Click the box to select the layer you want to change.
4, Once you've selected the layer, click the edge of the layer and choose Add polyline from the pop-up menu. Draw the contour of the new layer (points 1, 2, 3, 4) along the previously drawn edit line, and then press enter. Delete the edit line from the drawing.

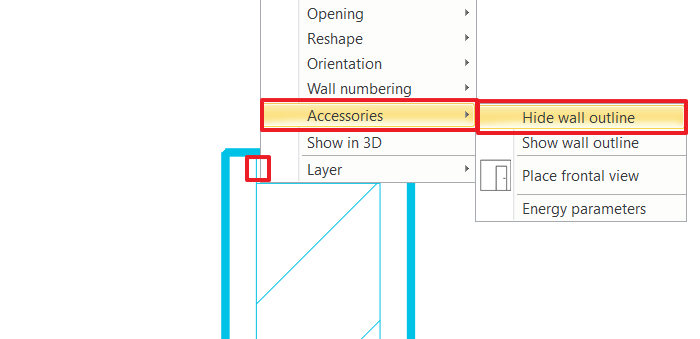
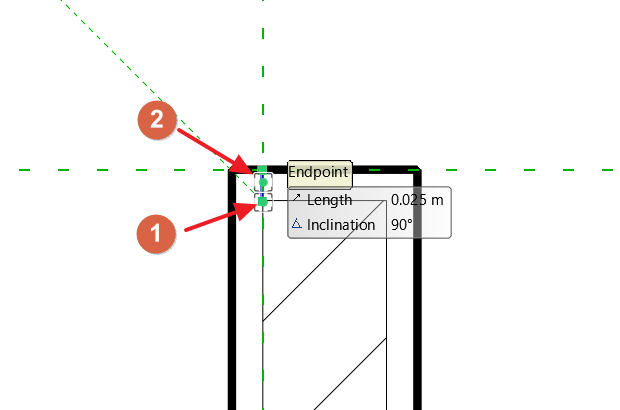
5, The layer order of the wall has been changed, the next step is to remove the dividing line between the outter layers. Right-click on the line you want to delete and select Accessories / Hide wall outline. Clicking on the two endpoints of the line to remove the boundary between the two layers. Repeat the process, as this line must be deleted for both wall layers.
The end result: a continuous layer order, and architecturally correct display of the wall.